By now you’ll know I’ve been taking an online calligraphy course for Modern Calligraphy, since the start of the year. I still have a module of this left, but I wanted to talk about it again now, since the new semester is now open for registration. If you have always wanted to learn modern calligraphy but haven’t known how the best way to do it is, where to go or what to do, I’m here to tell you THIS is the best way.
I’ve been learning through from a course run by Becca aka The Happy Ever Crafter. She runs the course online, in which the first module (learning your calligraphy drills) is totally free. This means you can get to grips with the basics before committing to anything. It gives you the chance to see whether you have the patience, skill and most of all the TIME to learn over the year, without parting with any cash.
And then even when you do have to pay for the subsequent modules, they’re not very expensive at all. This year she even allowed people to buy the whole course in one bulk payment if they wanted to, or just pick and choose and buy them individually as we got to them. They were also available at 50% off for a short period as we got to each module.
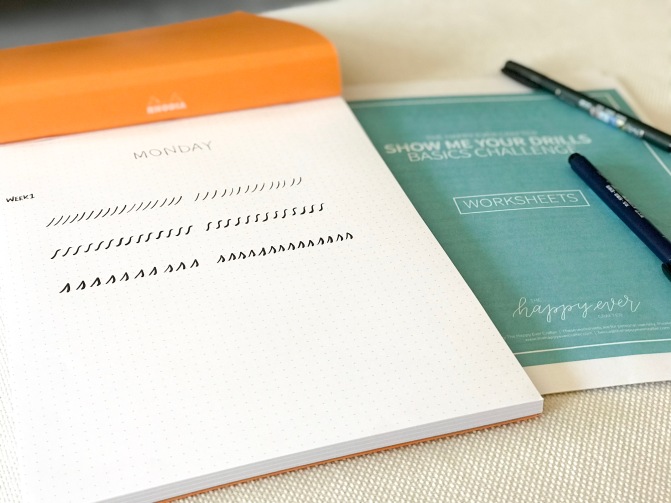
As it’s an online course, you need to print off your own workbooks. So from an expense perspective you’ll need to be able to do this. Or if you’re learning on iPad (which is also an option) your expense is purely the workbook itself. You then need to pick up paper, pens and tracing paper if you choose to use it. At the start of the course Becca tells you about different equipment you might want to use, what she uses, and where to buy the stuff. She also provides videos on each workbook to help you understand how best to use them.
Apart from the workbooks being amazing and easy to work through, she also offers communication through emails, and encourages you to take part in the community via a closed Facebook group and also setting up your own dedicated instagram account where you can interact with others taking the course via hashtags. (Mine is at https://www.instagram.com/lettersbygroggits/ I have to say, I was astounded at the level of community created via this course. You get so much encouragement and inspiration, not to mention confidence, by sharing your work and seeing the work of others.
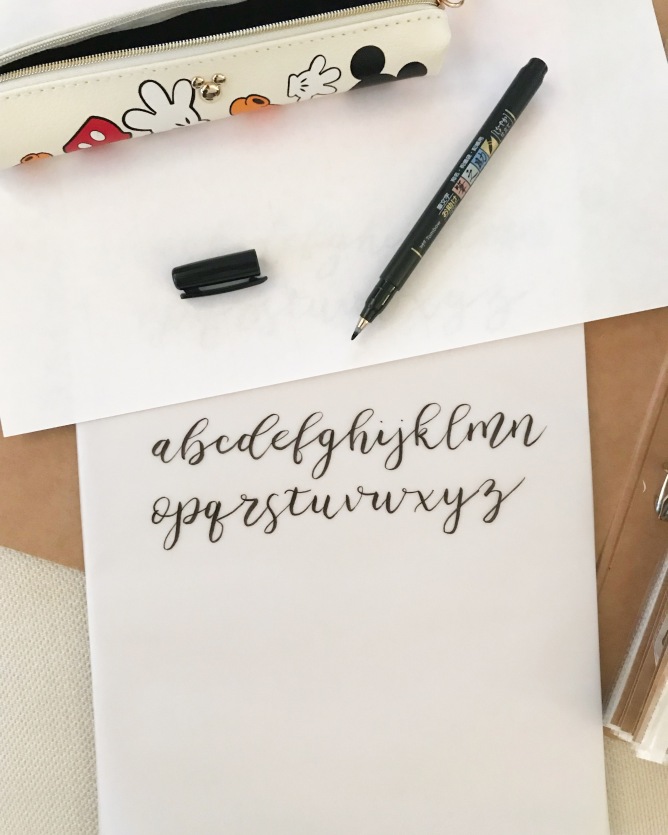
By the end of the Drill section I was all in. My confidence had grown in leaps from week to week and I was ready to start writing letters. We were encouraged to write out what we thought the alphabet would look like, and then shown how to use the shapes we’d learned and practiced in the drills, to create the letters.
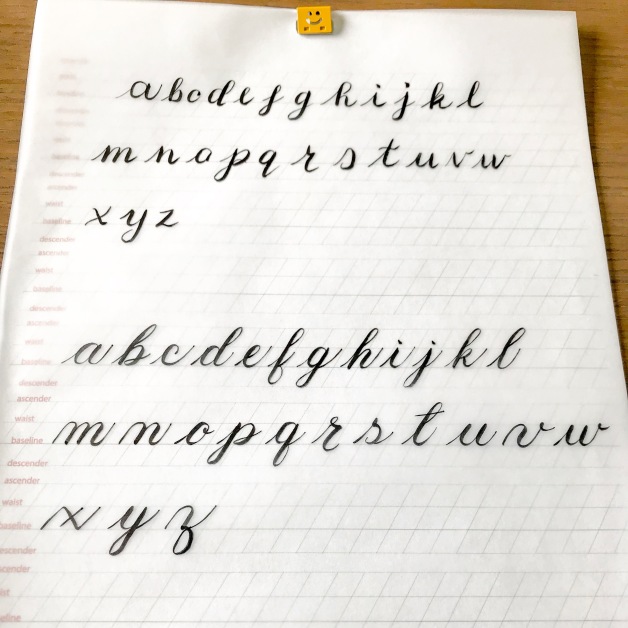
This is my before and after sheet, showing the difference between where I started and where I ended with the lower case letters. Quite the difference!
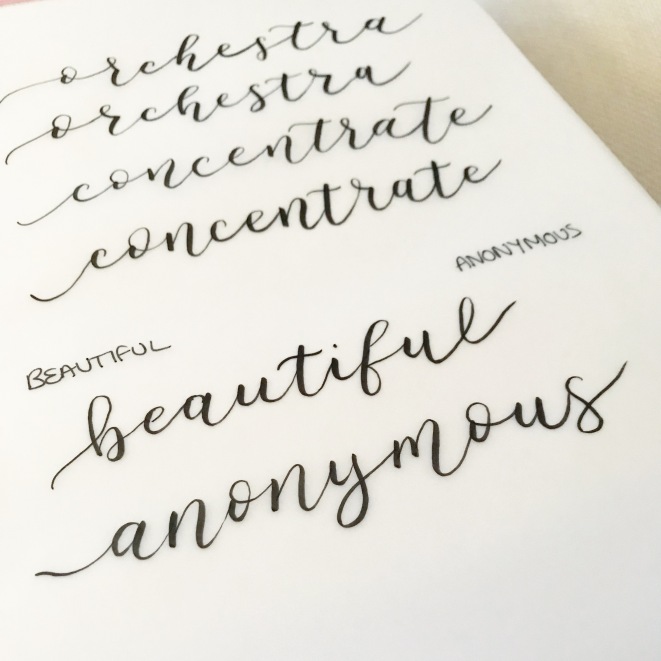
From here we learned upper case, numbers and symbols, joining the letters to make words, bounce styling and we’re currently learning how to flourish the words.
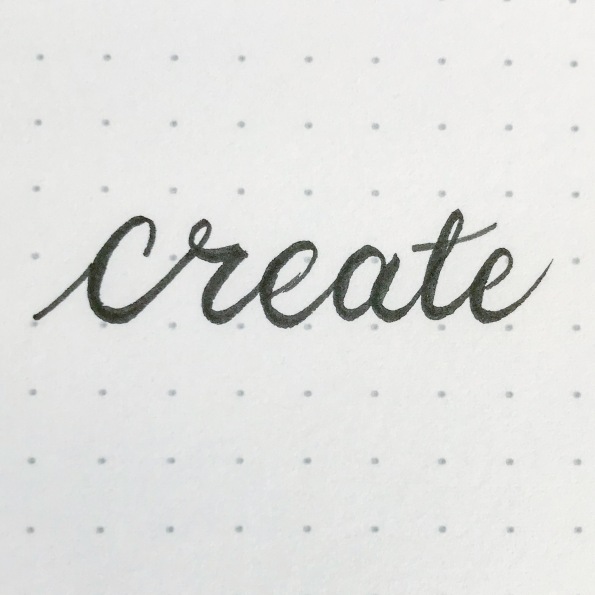
By setting periodic challenges we could put the letters together and see how far we’d come.
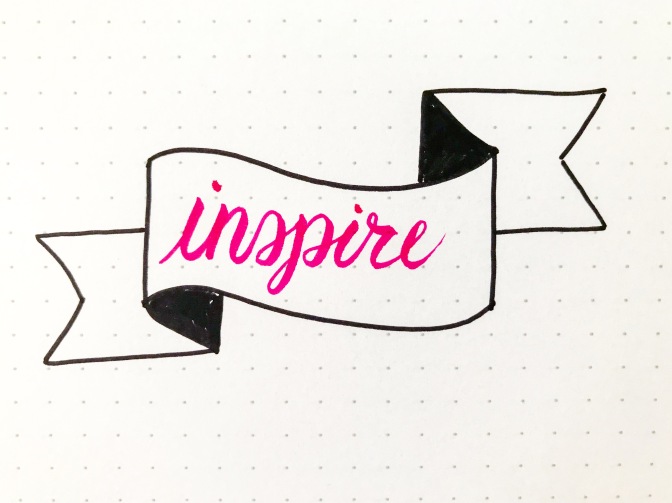
Using set words, and being encouraged to write them in ways we wouldn’t have thought of before.
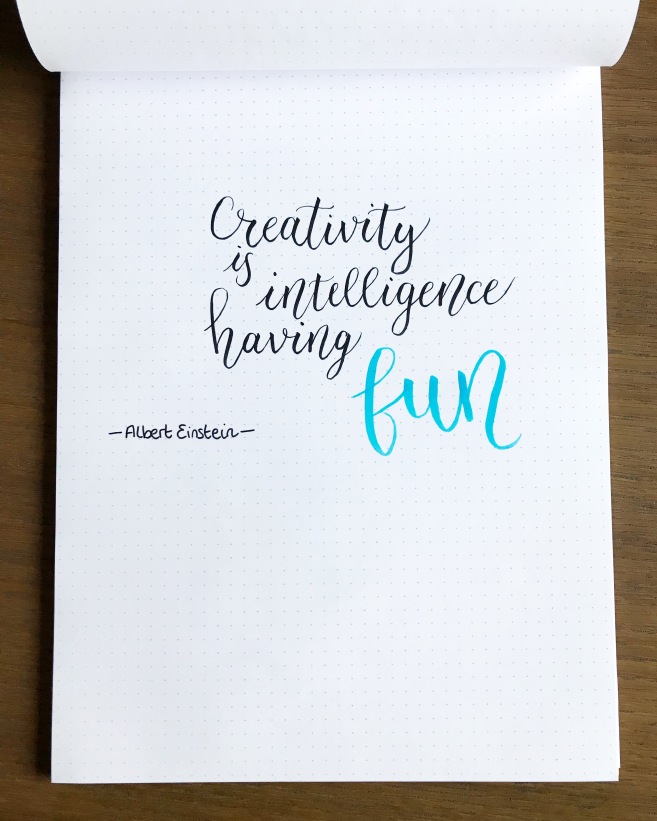
Not only has this taught me that I CAN learn a new skill, I DO have the patience to slow down and concentrate on getting it right, and I have even a little amount of creativity in me, it’s also opened me up to a world of other creatives online and on instagram. The world of creative lettering.
I’ve started to move onto iPad lettering too, but this might take a little practice. But I’m apparently okay at little drawings too, so I’m enjoying practicing and sharing those.
If you feel like this is something you’d like to see if you’re good at, I’d encourage you to head over to The Happy Ever Crafter’s sign-up page and give her Show Me Your Drills module a try. It’s free, so you can’t lose out, and I guarantee you’ll fall in love! The module starts on October 1st, so you’ll have until then to sign up.