Learning Modern Calligraphy the Easy Way

By now you’ll know I’ve been taking an online calligraphy course for Modern Calligraphy, since the start of the year. I still have a module of this left, but I wanted to talk about it again now, since the new semester is now open for registration. If you have always wanted to learn modern calligraphy but haven’t known how the best way to do it is, where to go or what to do, I’m here to tell you THIS is the best way.

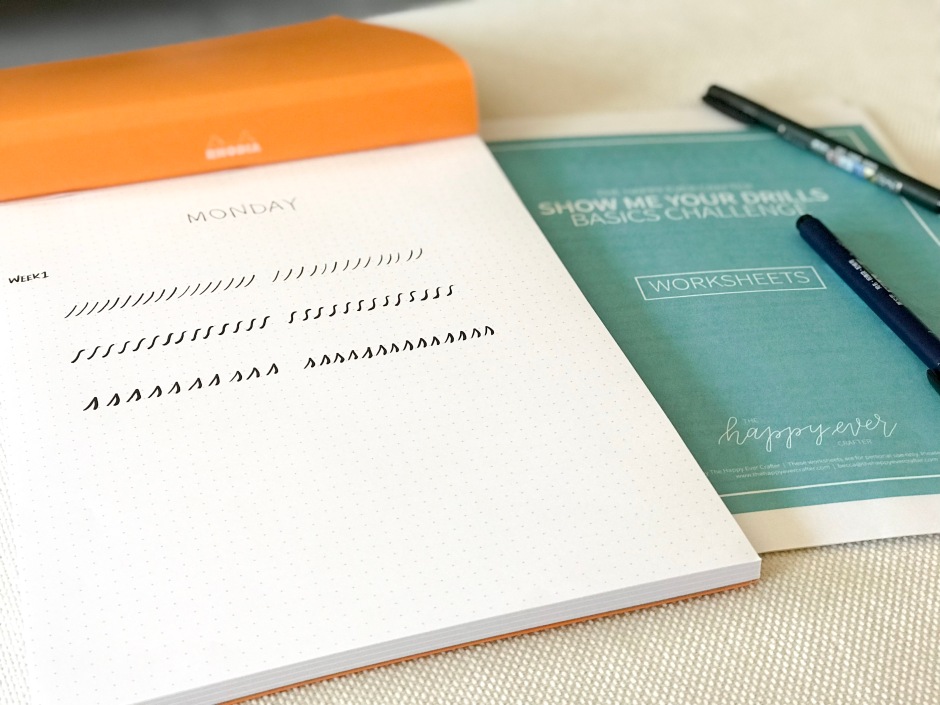
I’ve been learning through from a course run by Becca aka The Happy Ever Crafter. She runs the course online, in which the first module (learning your calligraphy drills) is totally free. This means you can get to grips with the basics before committing to anything. It gives you the chance to see whether you have the patience, skill and most of all the TIME to learn over the year, without parting with any cash.

And then even when you do have to pay for the subsequent modules, they’re not very expensive at all. This year she even allowed people to buy the whole course in one bulk payment if they wanted to, or just pick and choose and buy them individually as we got to them. They were also available at 50% off for a short period as we got to each module.
IMG_3364

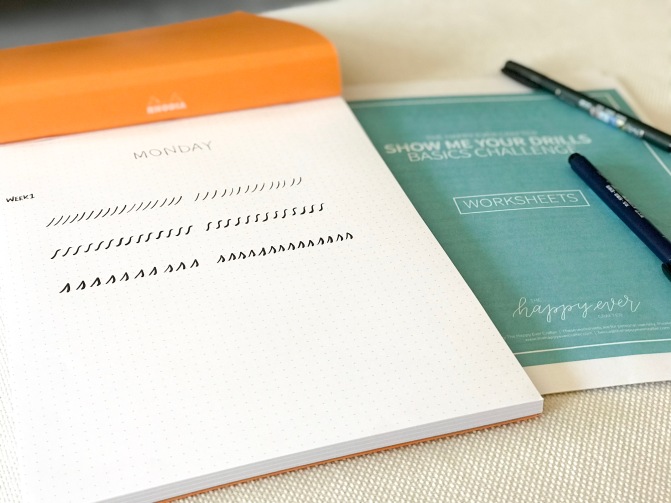
As it’s an online course, you need to print off your own workbooks. So from an expense perspective you’ll need to be able to do this. Or if you’re learning on iPad (which is also an option) your expense is purely the workbook itself. You then need to pick up paper, pens and tracing paper if you choose to use it. At the start of the course Becca tells you about different equipment you might want to use, what she uses, and where to buy the stuff. She also provides videos on each workbook to help you understand how best to use them.

Apart from the workbooks being amazing and easy to work through, she also offers communication through emails, and encourages you to take part in the community via a closed Facebook group and also setting up your own dedicated instagram account where you can interact with others taking the course via hashtags. (Mine is at https://www.instagram.com/lettersbygroggits/ I have to say, I was astounded at the level of community created via this course. You get so much encouragement and inspiration, not to mention confidence, by sharing your work and seeing the work of others.

By the end of the Drill section I was all in. My confidence had grown in leaps from week to week and I was ready to start writing letters. We were encouraged to write out what we thought the alphabet would look like, and then shown how to use the shapes we’d learned and practiced in the drills, to create the letters.
IMG_4853

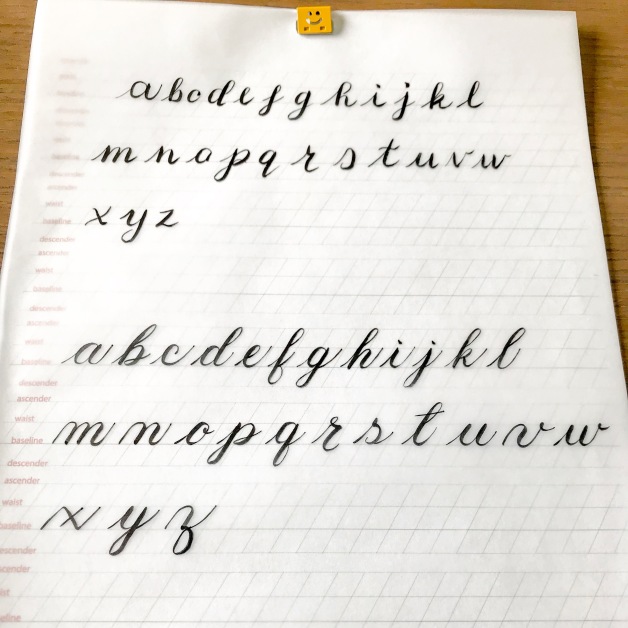
This is my before and after sheet, showing the difference between where I started and where I ended with the lower case letters. Quite the difference!

From here we learned upper case, numbers and symbols, joining the letters to make words, bounce styling and we’re currently learning how to flourish the words.
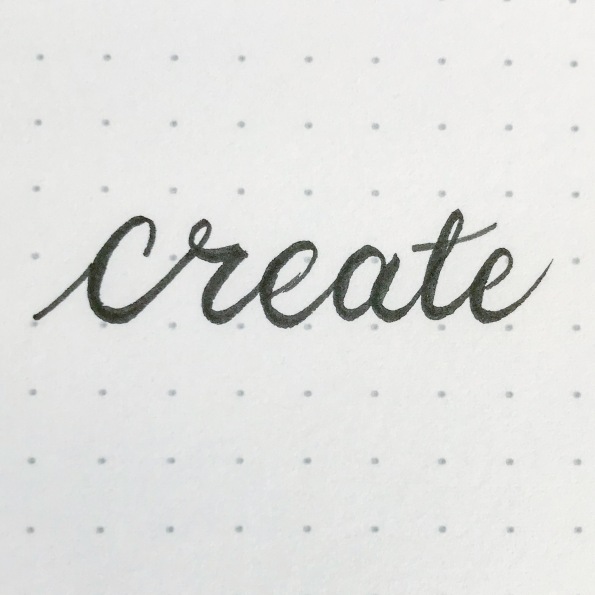
IMG_5265

By setting periodic challenges we could put the letters together and see how far we’d come.
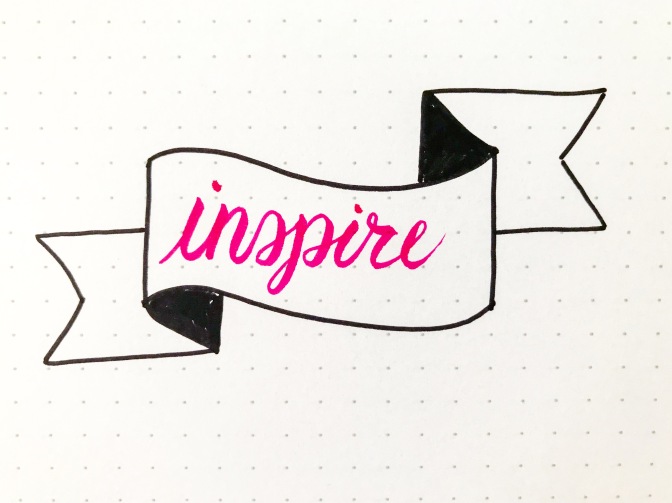
IMG_5274

Using set words, and being encouraged to write them in ways we wouldn’t have thought of before.
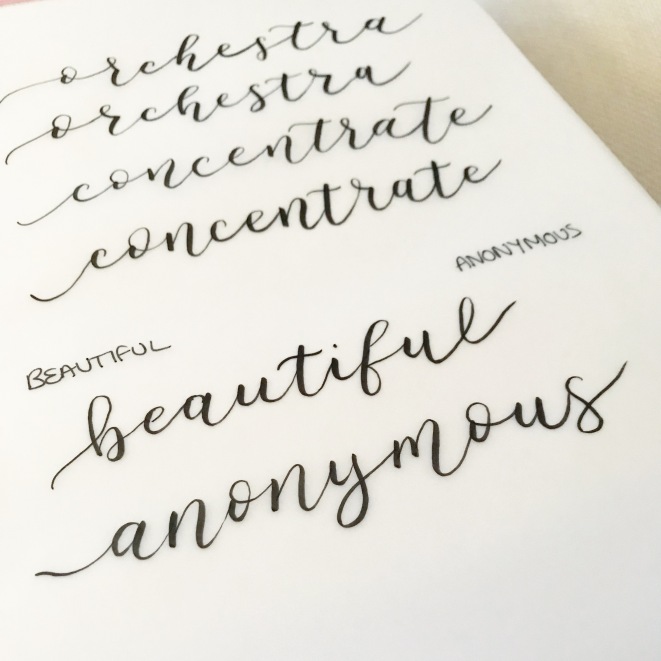
IMG_5765

Not only has this taught me that I CAN learn a new skill, I DO have the patience to slow down and concentrate on getting it right, and I have even a little amount of creativity in me, it’s also opened me up to a world of other creatives online and on instagram. The world of creative lettering.
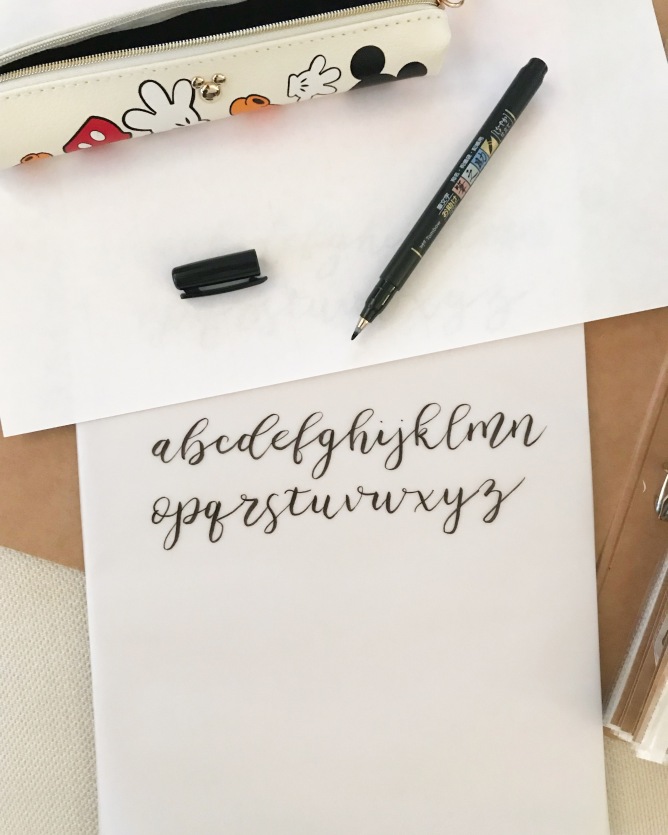
IMG_5768

I’ve started to move onto iPad lettering too, but this might take a little practice. But I’m apparently okay at little drawings too, so I’m enjoying practicing and sharing those.

If you feel like this is something you’d like to see if you’re good at, I’d encourage you to head over to The Happy Ever Crafter’s sign-up page and give her Show Me Your Drills module a try. It’s free, so you can’t lose out, and I guarantee you’ll fall in love! The module starts on October 1st, so you’ll have until then to sign up.
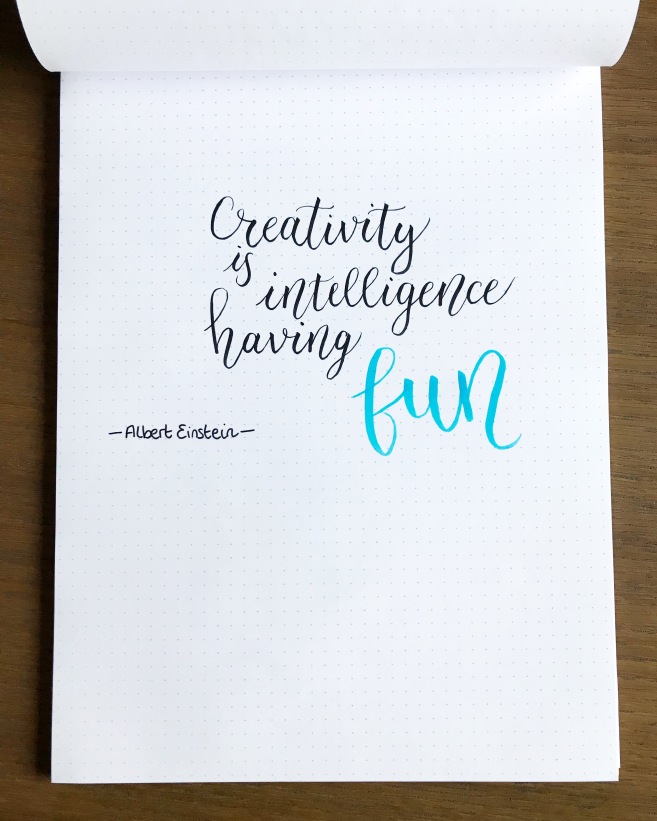
IMG_5772


Checking in With my New Year’s Resolutions!

If you read this blog regularly, you’ll know I set myself the New Year’s Resolution this year of learning new skills.

I set two very specific new skills, a food challenge where I was make 52 new recipes over the course of the year, and to learn modern calligraphy. And I’m very pleased to say I’m now half way through the year and I’m STILL DOING THEM!

I’m really very pleased with myself!

LRG_DSC01376

The food challenge has been great. It’s hard sometimes to find a recipe or fit it into the week, but that’s the part that makes it a challenge, right?

I’ve already gone out of my comfort zone with methods, pushed myself to use ingredients I wouldn’t usually use, and try different combinations.

IMG_3541

It’s also allowed me to find meals and treats I know I’ll be making again! I’m away later on in the year, so instead of doing one recipe a week, when I can I’m trying to fit in a couple so that when it’s impossible for me to be in the kitchen, I know I’m not lagging behind.

LRG_DSC01534

Not all of the recipes have been as successful as I’d hoped, but that’s all part of the process! I’m loving completing it, and next year I’ll have a whole handful of recipes I will have found and hopefully will feature in our staple list of loved meals.

Follow this link if you want to see all the recipes I’ve made so far!

The second challenge I set myself was to learn modern calligraphy. It’s something I’d wanted to learn for years, and then when I saw a friend learn last year via The Happy Ever Crafter, I knew I wanted to go for it, for real.

IMG_5273

The first month was practicing the shapes and strokes that would eventually make up individual letters (known as Drills), the second month was learning the lower case letters, third was upper case, and now we’ve just finished learning how to correctly connect them together to form words.

IMG_5274


It’s amazing how quickly you learn and gain confidence, but a lot of practice is needed to actually get good at it. The online community surrounding the course is incredible and we’re encouraged by each other, mentors and Becca who runs it, via instagram and a FB group.

IMG_5351

I was also given, as a very early birthday present, an iPad and Apple Pencil to use with the Procreate app, so I can learn iPad lettering too. Again it’s tricky and I’m going to be spending a lot more time practicing and watching tutorials on what you can do with the apps, but it’s been so much fun so far!

IMG_0012

I can see my progress improve week to week. It’s amazing looking back at what I wrote even only a month ago, in comparison to now. The improvement is steady and vast. I can only get better!

If you’d like to take a look at my progress, and track future improvement, you can follow me on my dedicated calligraphy instagram account.

I’m really pleased I’m sticking these resolutions out, and I’m enjoying them so much!

Are you still working on your New Year’s Resolution? Let me know in the comments. I’d love to hear what it is, and how you’re getting on?!

Calligraphy Update: Module 1 Complete!

I’ve done it! I’ve completed workbook 1 of my learning calligraphy course and I’m loving it.

I feel like I have come on leaps and bounds since beginning this journey. If you haven’t read my last post all about learning calligraphy drills then head over.

So this module was learning minuscule letters (did you know minuscule letters began being called Lower Case letters, because that’s where Printers used to keep them… in the lower section of an actual case full of individual letters?) .

IMG_4607

IMG_4733

IMG_4810

Each week we would learn how to form the letters using the standard drill shapes we’d previously learned, and seeing how they would fit together to create actual letters.

And then we would practice practice practice. Every week I would go back and write the whole alphabet ‘so far’.

IMG_4661

I would do this from memory as much as I could, and then try to write words that only included the letters I’d learned so far! I haven’t learned how to link the letters properly yet, but I improvised where I needed to!

IMG_4711

Not only was I learning brush pen lettering, but I was able to use the skills I’d learned to write simple lettering too.

IMG_4839

IMG_4769

Trying to fit it all on one page began to get harder, so I squidged it all in!

At the start of the process we were asked to write the whole alphabet out, ahead of learning how to form the letters properly, and not refer to any learning materials we already had. Then at the end write out what we knew the alphabet should look like, so we could compare.

Here’s mine!

IMG_4851

I’m very pleased with how I’ve improved, and obviously I’ll continue to practice! I am being inspired to create some exciting stuff, so I can only get better!

I’m really enjoying learning this new skill. The next module is majuscule letters (or Upper Case – these were kept in the upper part of the case by Printers….) so soon I’ll be able to write names properly (lol!)

Onwards and upwards!

Learning Modern Calligraphy – One Month In!

For those who read Musings regularly, you might remember me mentioning I was going to start a modern calligraphy course, as part of my Learn New Skills 2018 challenge? You’ll have no doubt seen my food challenge posts dotted throughout the past month, however I haven’t really mentioned my calligraphy progress.

We’ll, here goes! I’ve been taking The Happy Ever Crafter’s basics course over the 4 weeks of January, and I’ve really really enjoyed it.

Her new semester of modules actually starts in March, so I’ll be starting along with everyone else when that begins, but I really wanted to give myself a head start, so I’ve completed the first module (which is free) already, and I’ll then have a couple of months to practice and work on the areas I’m still struggling with.

The basics course gets you working on the strokes that make up all major parts of forming letters, and allows you to work on holding the pen, getting the correct pressure to form the strokes and what kind of brush nib you prefer.

Each day you work on a different type of stroke, and over the weeks you move from tracing every stroke, to totally freehand by the end.

3537F1FD-AEEF-472B-ABE8-8160A4F5D688

I set up a dedicated instagram account, so I could follow my progress and the progress of others during the modules, and I’ve really enjoyed connecting with people who have been doing the same! You can follow me on instagram at @letterbygroggits if you’d like to see my progress along the way.

So, now the 4 weeks is done, let’s see how I did!

BF6E86A9-8902-49BE-B1D9-970E0B207C0C

Monday was upstrokes and downstrokes. Simple lines, downstrokes with heavy pressure, and then a combination of the two. I struggled with the downstrokes for the whole 4 weeks, but think I started to get the hang of it by the end. They were looking less like S by the end too!

EC416566-A442-4DF9-BF12-6368149A0C7B

Overturn strokes on Tuesday, and these started off too pointy at the top, but by the end of the month I’d managed to maintain the correct pressure and size and found these fairly easy to create.

5A593779-7DCC-4309-BFA3-3A31C77585CB

Similarly, Wednesday’s underturn curve became easier as the weeks went on, and I was able to create uniform shapes. But it took some practice!

3F80A8EE-C0B4-412D-A4F9-817A6EDE2872

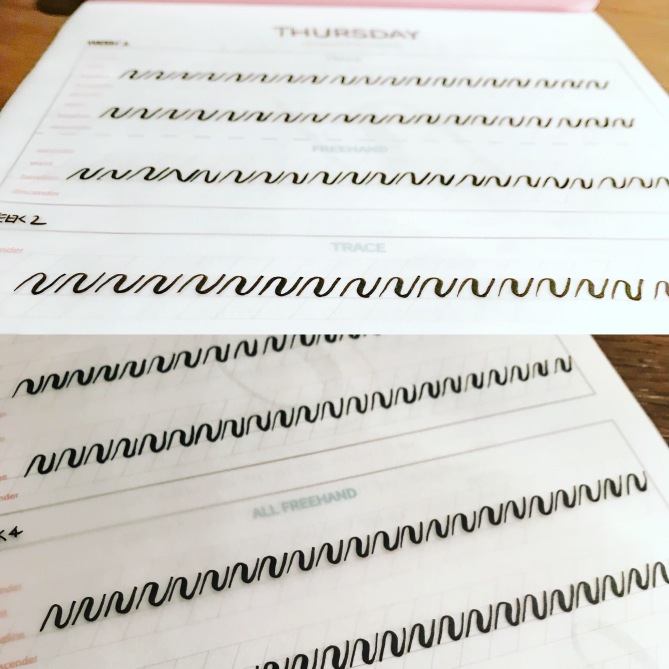
Compound curves on a Thursday became my favourite day. These are such fun to draw – not easy but I became more confident as the weeks went on, and really enjoy working on them!

65B0DC26-DC36-4D5A-B7A9-9C6D33CE4A8F

On the flip side of that, Friday was my least favourite day. Ovals I just cannot do yet and I’ll be continuing to practice these for a while I feel. I just can’t seem to get the pressure correct no matter how I hold my pen. These are going to be integral to lots of letter shapes, so I know I need to get them down!

D74BA90A-1E34-47E7-B333-2C8BF04F6C47

Saturday brought ascending loops, and again these are tricky little blighters. I’ll need to practice these too, but I think when I concentrate and take it really slow I can almost draw these!

960BFAD3-DBE2-4188-8388-FFF41B473FB2

And then Sunday was descending loops, which were just as hard, if not harder. Again, it’s hard to work out the pressure when starting from the top and get my wrist in the correct place!

I’ve got a few months to practice these before the next module starts, so I need to make sure I do actually practice so I get a head start on the next work book.

I’ve really enjoyed working through this work book. I found my confidence increased week by week, which is something I really love about learning brand-new skills. I didn’t expect it to be so therapeutic, and I’ve actually learned to slow down and concentrate on forming each and every shape carefully – not something I’m used to. But completing this module has actually taught me something about myself – I need to stop rushing. Things will end up better if I actually take the time over them and slow down. I think this course is going to be good for me!