
Well, this wasn’t the post I thought I’d be putting up next. As you probably know from my last post, I had quite a few entries planned. But when it came down to it, the… More

Lifestyle blog
Well, this wasn’t the post I thought I’d be putting up next. As you probably know from my last post, I had quite a few entries planned. But when it came down to it, the… More

Literally the evening before I flew to Florida, I hot-footed it from my Gatwick hotel room to central London and King’s Place for the London Podcast Festival. It feels a little backwards, attending a live… More

And we’re back! This week, I have been mostly recovering from jet lag…. We landed last Saturday morning, and were immediately confronted with car troubles, when all we wanted to do was drive home and… More

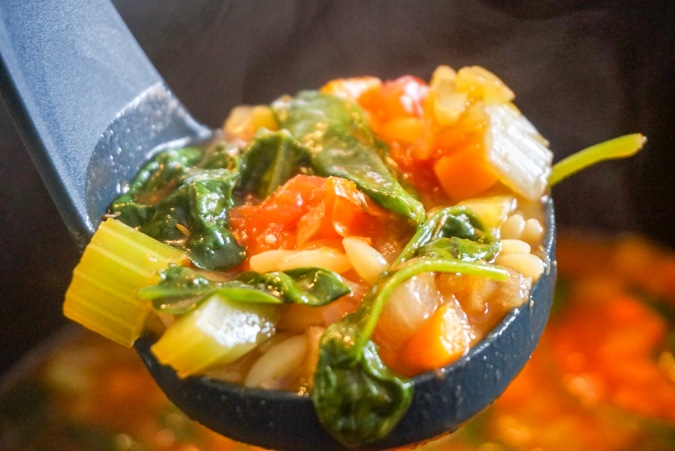
I’m back! We’re back from America, so this week’s recipe doesn’t come from there, like my last three have. This one is actually Italian, and though the title states it’s a soup, it’s more of a stew in my opinion.
I made this as a warming lunch option to take to work. It serves 6 people and is fairly simple to make. It’s very filling, but that could just be the way I portioned it out!
I also made a fairly big mistake whilst making this, but it all ended up okay in the end….
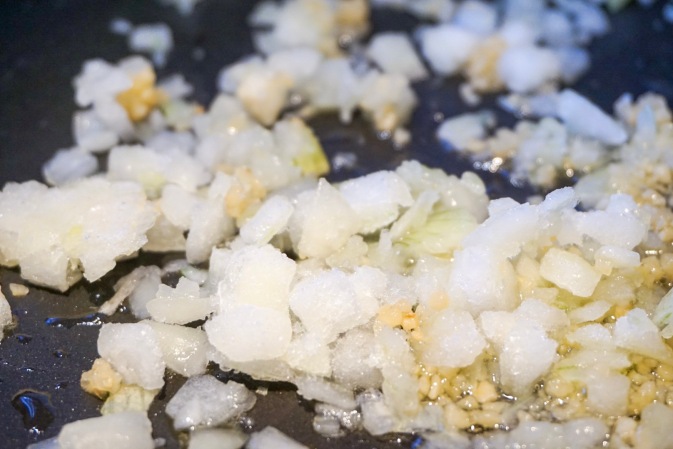
You start with adding a little oil into a large stock-pot and adding 1 small white onion (diced) and fry for about 4 minutes. Add 1 cup of diced carrots, 1 cup of diced celery and 2 cloves of minced garlic. The recipe called for 3 cloves but I didn’t want that much. Saute this for an additional 3 minutes. This was where I made my mistake, and just forgot to put the carrots and celery in. I know, I know – weird but I did it.
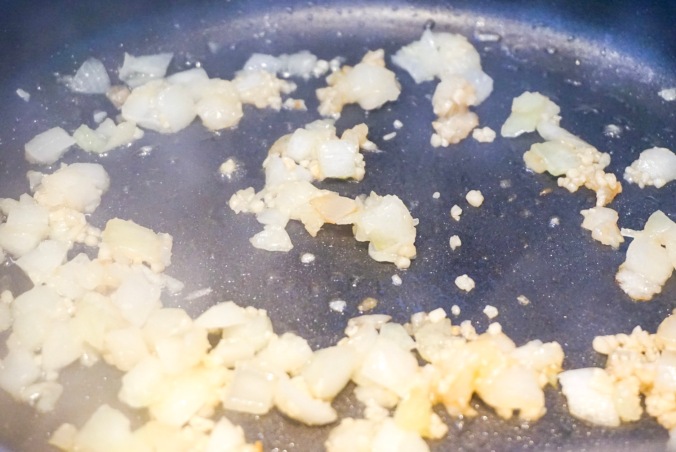
So that’s the onion and garlic, minus the carrot and celery.
Next I added 1.5 litres of vegetable stock, 1 can of chopped tomatoes, 227g of orzo pasta, 1/2 tsp of dried thyme, 1/4 tsp of oregano and 1/4 tsp of dried rosemary and stir to combine.

I brought this to a simmer, and turned around in the kitchen. There behind me on the kitchen island was a lovely bowl of diced carrots and celery. DOH!
So I plonked them all into the pot too, and hoped for the best!
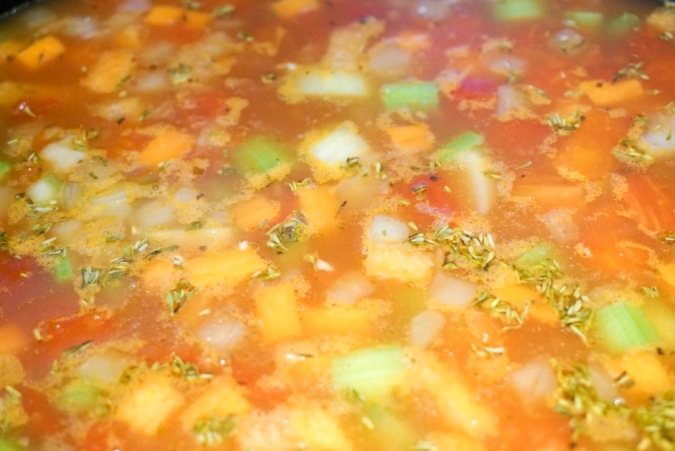
This was brought to a simmer, then the heat reduced to medium-low and simmered for 10 minutes (or until the pasta is al dente), stirring occasionally.
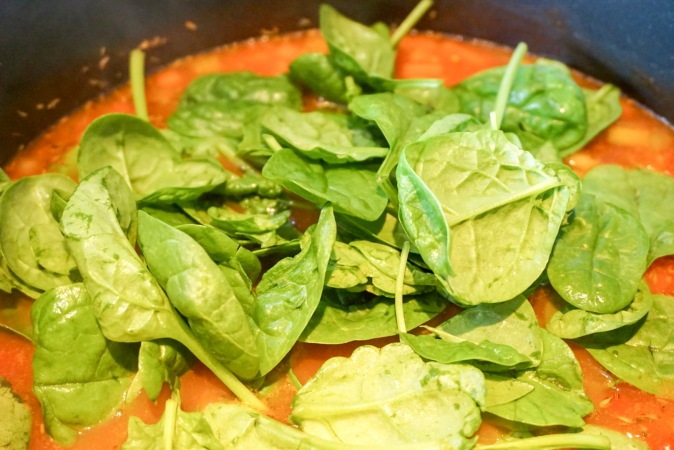
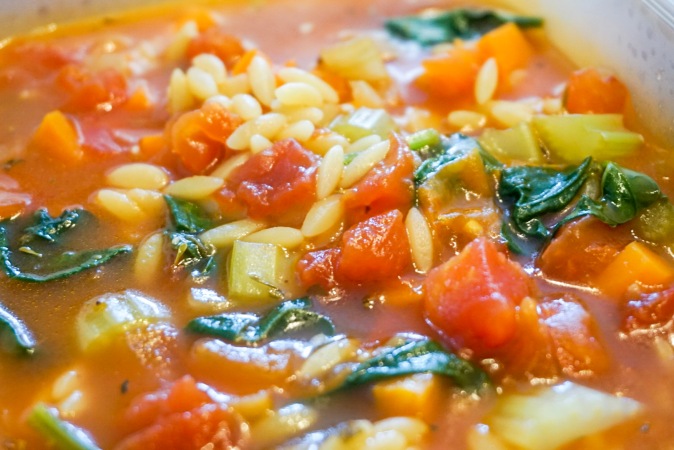
Then I added 4 cups of spinach leaves.
Stirred all together, I then tasted the pot and added 1.5 tsp of sugar, salt and pepper.
This was cooked for 2 minutes and it was ready!
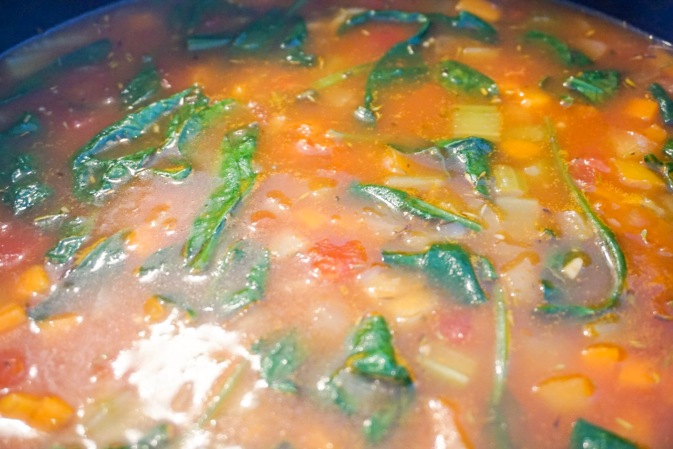
At this point it looks like there’s a lot of liquid, but there’s so much veg and pasta in there that I felt like it was more of a stew type consistency.
I don’t think the soup suffered from the mistake I made. The veg was cooked through enough, but who knows, that could have contributed to a lack of moisture in the soup.
This soup was really flavourful. It filled me up on each occasion I ate it, and I felt like I was getting a good healthy balance of vitamins and minerals from the rainbow of ingredients I was eating.
The verdict:
This was a really nice soup, and it will make a lovely addition to my home cooked work lunch ideas. I’ll most likely make this again, down the line, and I can see it being really nice and warming in winter and spring.
I give this recipe 7.5/10

In the UK we have toasted cheese sandwiches, traditionally made in a sandwich press contraption, that’s usually so hard to clean after use that it’s makes more sense to buy a new one each time that try and get it clean. In the US they have no such problem – they make grilled cheese sandwiches and they are made in a skillet or frying pan. Simple, quick and much easier to clean up. I started making my grilled cheese sandwiches this way a few years back and it’s the only way I’ll do it now. They’re called ‘grilled’ cheese because in America when you ‘grill’ the heat comes from below, as opposed to in the UK where when we grill something the heat comes from above. (Think BBQ grill and you’ll get the idea)
Now, I know what you’re thinking – grilled cheese – that’s not a new recipe. But bare with me. I spotted this recipe over on smittenkitchen (yes her again!) and thought to myself “the only thing you can do to make a grilled cheese better is…. MORE CHEESE”.
The thing that makes this grilled cheese BETTER is the addition of a small amount of cheese in the pan before the sandwich goes in. This creates a crust of that crispy, cheese, lacy melted cheese on the outside of each side of the sandwich. This thin lacy, crispy layer of melted cheese is also known as Frico.
So, to make this epic grilled cheese you start of with some decent bread. Thick but not too thick. I ALWAYS make my grilled cheese with sweet chilli sauce inside. I love how the sauce mingles with the mature cheddar flavour. It adds beautiful sweetness and slight heat, which cuts through the cheese.
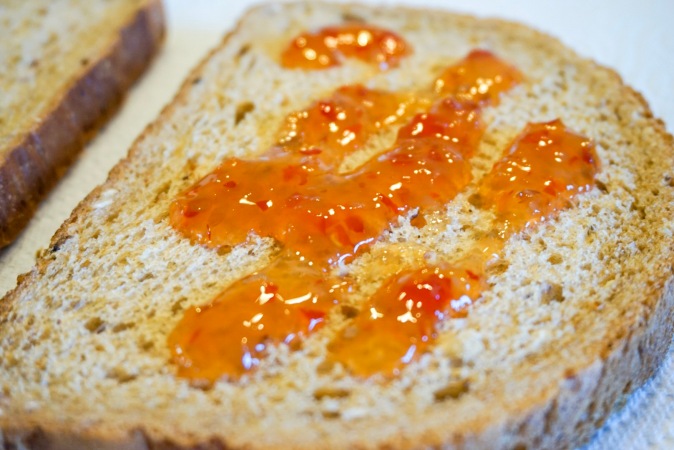
I put about that much on the bread and spread it out evenly.

Then as much grated cheese as you want, but bare in mind this has to melt evenly. This is why grated cheese is more effective as the surface area of the cheese bits are smaller. I used lactose free mature cheddar.
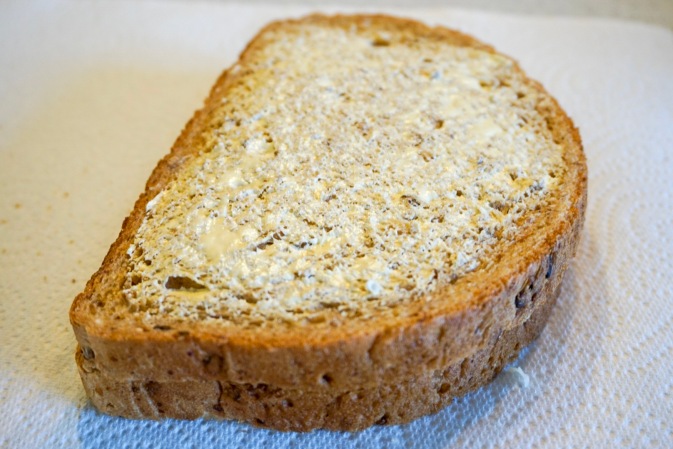
Then top this with the other slice. At this point, I use a spoon to spread a fairly thick layer of butter (I use Vitalite) on the outside of the top slice. I say to use a spoon to do this – I’ll explain why in a minute.
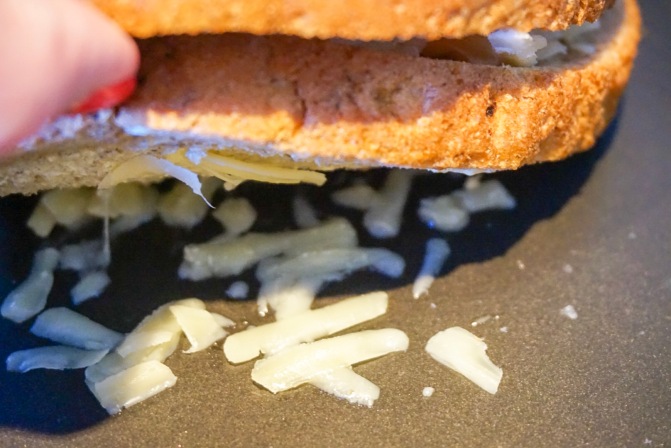
The next step is the warm the pan on a low-medium heat. Now the Smitten Kitchen recipe says you use 1 tbsp of grated cheese next, but I didn’t think this was enough so I used 2 tbsp (I was right).
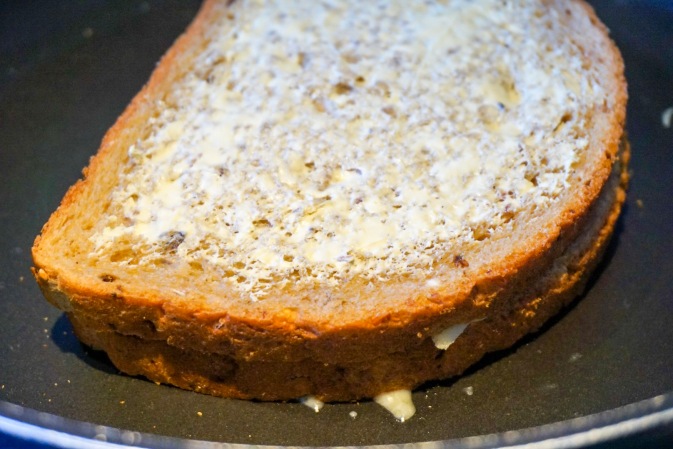
You sprinkle the cheese into the pan, right where the sandwich is going to go, and the place the sandwich, butter-side down on top of the grated cheese.
Now remember I told you to use a spoon the spread the butter earlier? Here’s why. You now have a sandwich slowly grilling in the pan, but the side that’s facing up has no butter on it. I don’t like to butter both sides when prepping because you’re left with a buttery sandwich you can’t put down anywhere. Once it’s in the pan, you need to butter the side that’s now face up. But if you use a knife in a frying pan, it’s hard to get the angle you need to spread it. Enter: THE SPOON! It’s perfect for spreading at an angle and you’re not going to accidentally touch the hot pan. You heard it here first.
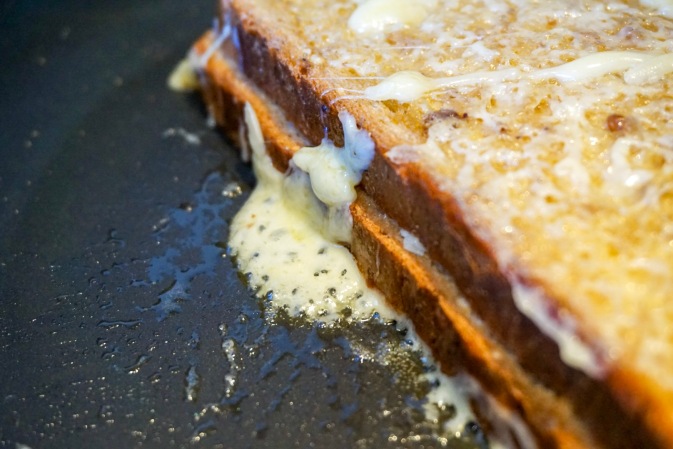
You’ve got to let the sandwich fry in the pan until it’s golden underneath and the cheese browns and fricos. This is about 4 minutes. Then you lift the sandwich up and out of the pan with a spatula, sprinkle 2 more tbsp of grated cheese on the pan and flip the sandwich over on top.
Cook this until that side is brown and crispy, pressing down with the spatula to encourage all the cheese inside to melt together.
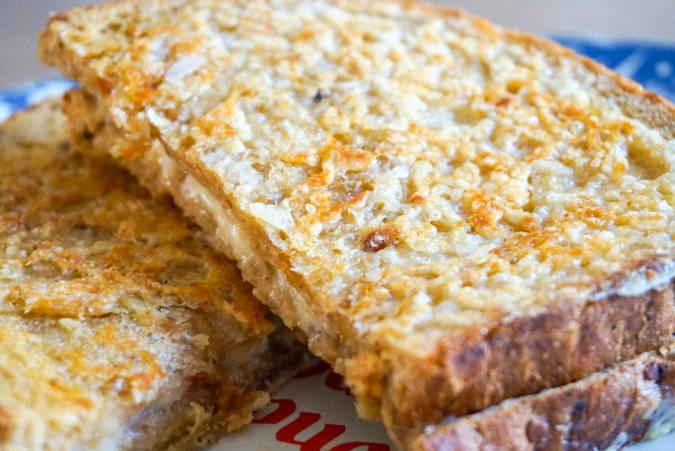
And you’re done!
I always cut mine in half because it’s HOT in there.
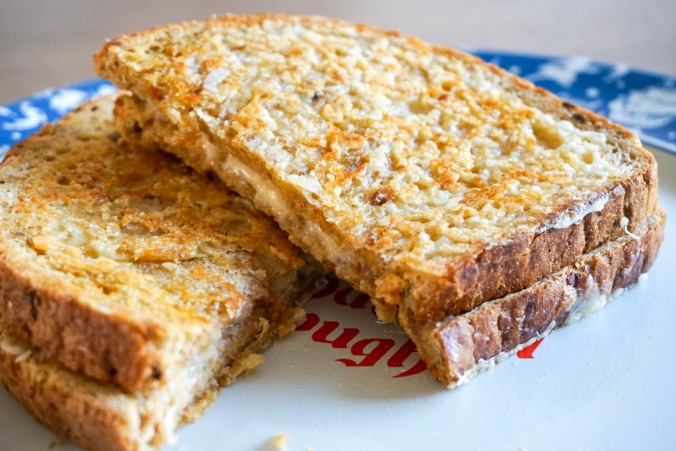
As you can see, the outside is crisp and the cheese has created a wonderful Frico crust.
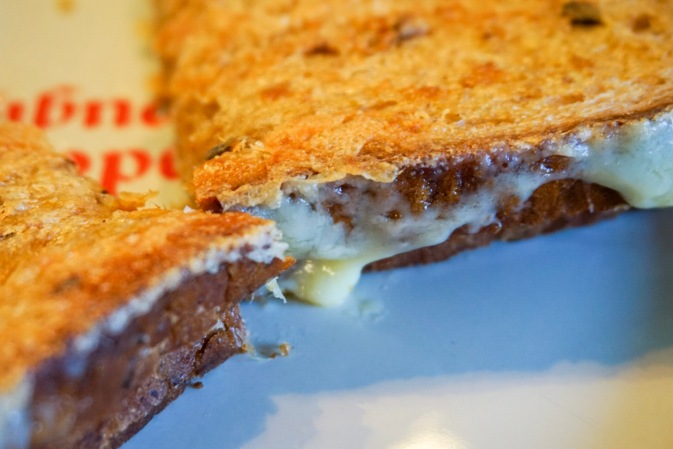
The inside is still melty, but the outside is that wonderful strong and crisp cheese flavour.
I won’t mince my words when I say, this was the best grilled sandwich I’ve ever eaten.
I give this recipe 10/10!
As you will know, I’m currently on holiday in Orlando so I thought that the recipes I post whilst I’m there should be reflective of the kind of food I love to eat when I’m there.
This recipe for pecan pie muffins is so quick and simple, and uses very few ingredients. The method is a little unorthodox for me, but I went with it and the result was just fine!
This made 20 mini muffins. I’ll mention here, that the size difference between a muffin in the UK and a muffin in the US is different, so I just went with it and made the amount that the batter gave me. The recipe states it’s 8 muffins. I made 20 mini muffins. I suspect mine were mini cupcake size.
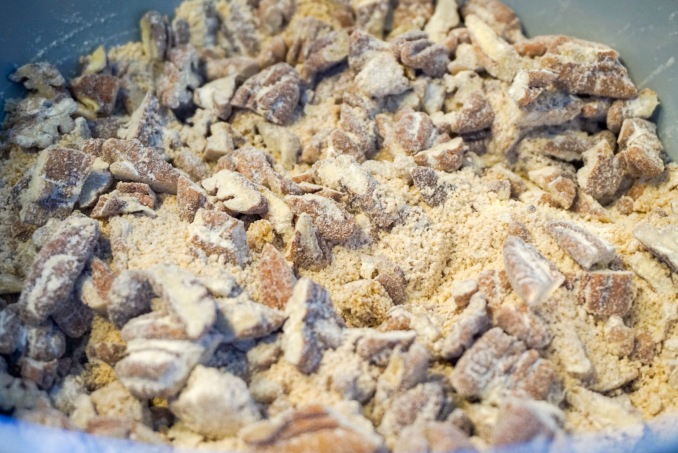
I set the oven to 160c (fan) and buttered a silicone tray in preparation for the batter. Then I chopped the pecans.
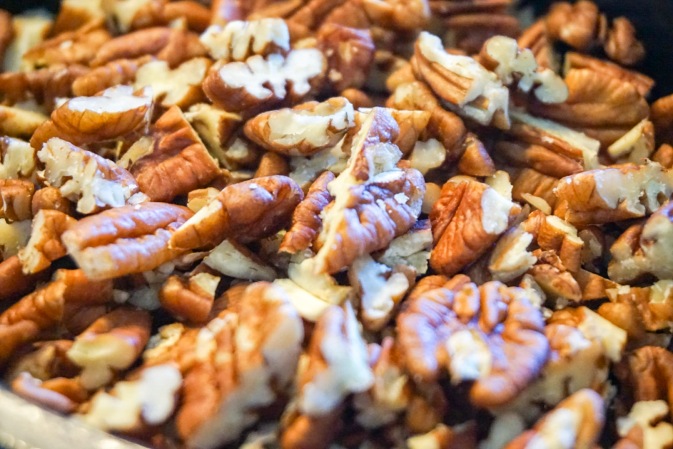
In a medium bowl I mixed the dry ingredients together: 1 cup of packed (pressed down) light brown sugar, 1/2 cup of plain flour, and 2 cups of chopped pecans.
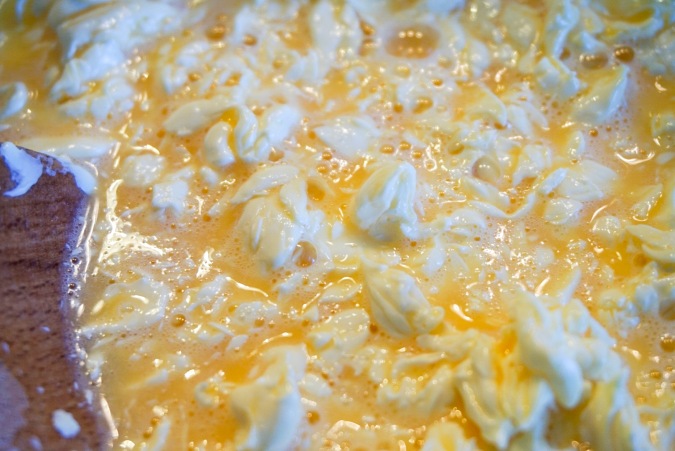
Now, with cake batters, I’m used to creaming the butter and sugar together to start with and then adding the rest of the dry ingredients. Then when you add the eggs, there’s no curdling and everything is smooth. The next step in this recipe was to ‘beat’ 2/3 cup of softened butter and 2 beaten eggs, together.
I honestly don’t know how to do this. Everything’s too wet and slippery to ‘beat’ together. I ended up with this:
At which point I gave up and gradually added the dry ingredients into the wet, beating fast to try to prevent curdling.
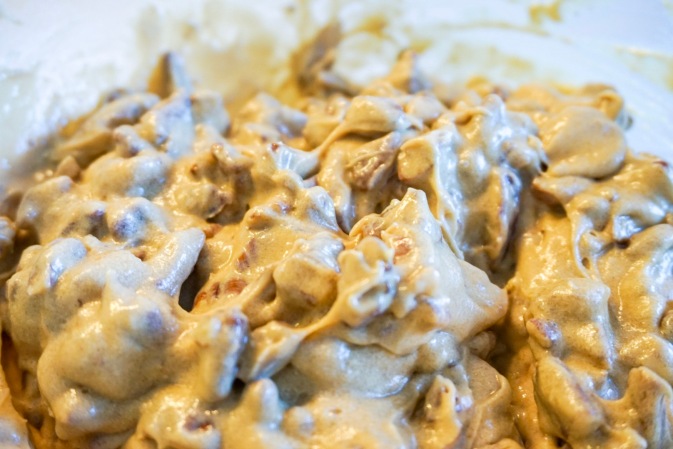
If you look closely, you can see this still curdled a bit. But usually this will right itself in the oven anyway, so I just carried on.
I spooned the batter into the cups. The recipe stated to fill each cup 2/3 full. I clearly ignored this and just put a load in each one…

This then went into the oven for 15 minutes, until a toothpick came out clean when inserted into the middle of the muffins.

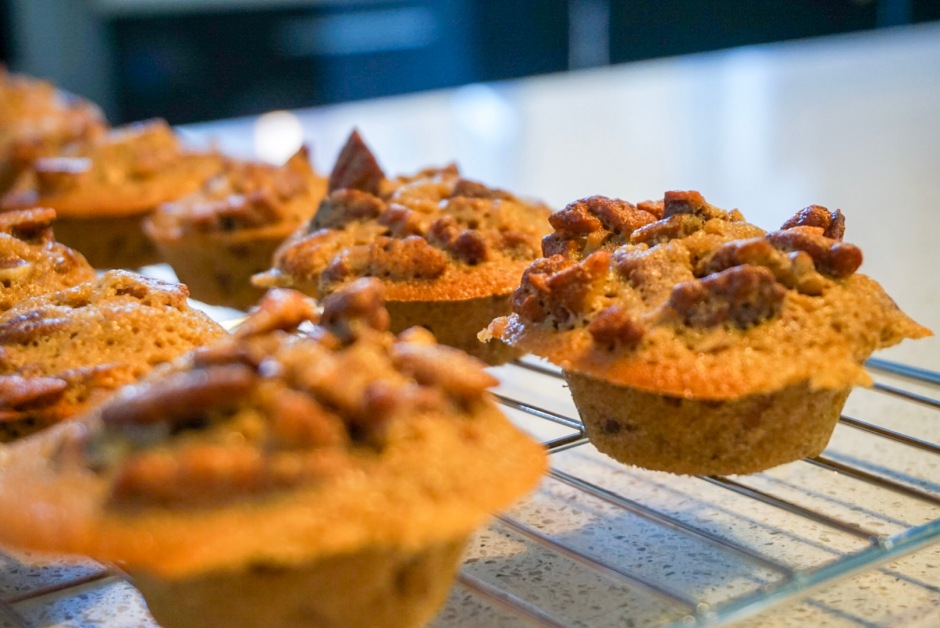
I left these to cool a little for a few minutes, before popping them out of the tray (I love these silicone trays!) and left them to cool entirely.


Once cooled it was time to try them!
Because these were called ‘Pecan Pie’ muffins, I expected them to be a bit sweeter, which is the main reason I made them as mini muffins instead of standard size. But they were really very tasty despite this.
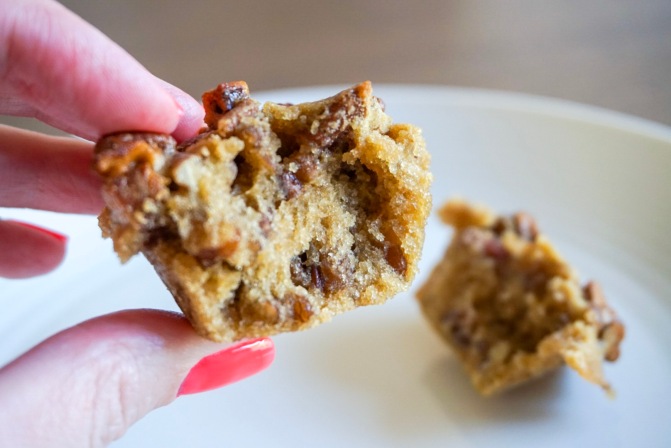
The cake was a little dense, but still light. The denseness probably due to the method of making the batter. The pecans offered a lovely crunch and additional sweetness to the muffin.
The verdict:
These were quick, easy and tasty! They might be a little better with some kind of maple glaze on top.
I give this recipe 6/10
When you read this I’ll be on holiday in Orlando, so I thought this week’s recipe should be reflective of this.
Here in good ole Blighty when we think of Chinese takeaway, we think Sweet & Sour Chicken. But in the US I’ve never seen Sweet & Sour Chicken. It seems their equivalent is Orange Chicken, which is so very similar but with a sweet citrusy edge.
Since we’re trying to eat a little less meat, at home, I saw this recipe and knew I wanted to try it out! This recipe serves two people and was super quick and easy to make.
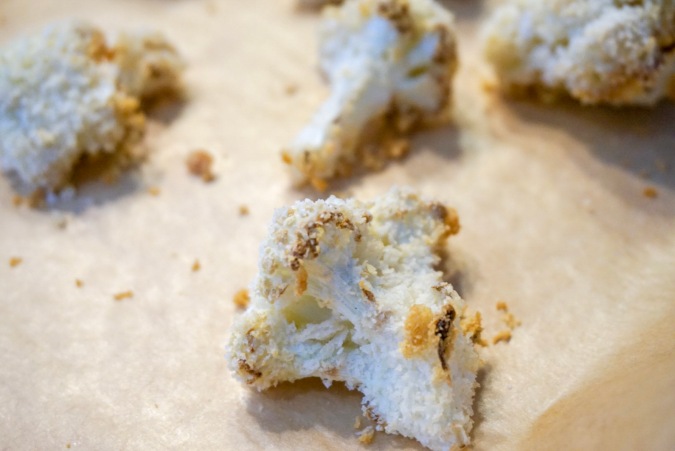
I started off with a small cauliflower which I cut into bite sized florets.

I put the oven on to 180c (fan), and whisked two large eggs in a small bowl. Then I put 1/2 cup of panko breadcrumbs into a Ziplock bag. The recipe states to use up to 2 cups of breadcrumbs, but I found I only needed 1/2 a cup – I think my cauliflower was tiny!
I dipped each floret into the egg, gave it a shake and place it onto a plate for the excess to run off.

I then tossed each individual floret in the panko and placed onto a prepared baking sheet.
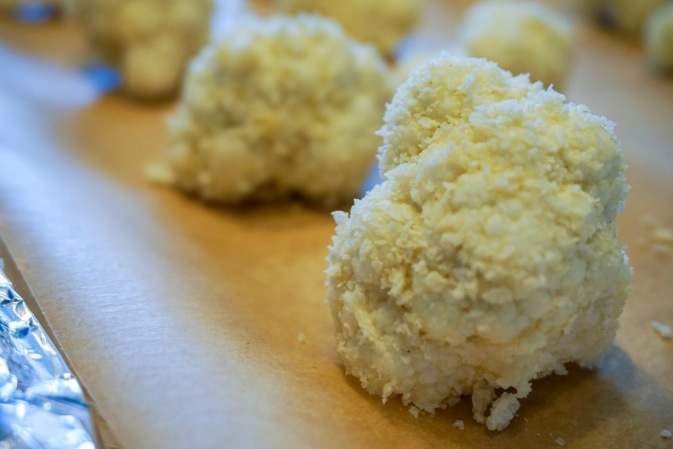
These were put to bake in the oven for 20 minutes.
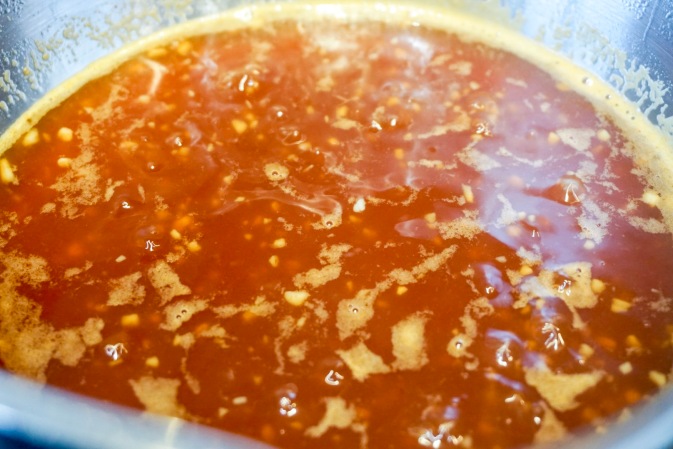
For the sauce I put the following into a small saucepan:

I brought this to the boil, stirring constantly.
In a separate bowl I mixed 1 tbsp of water with 2 tsp of cornflower and then added this to the pan.
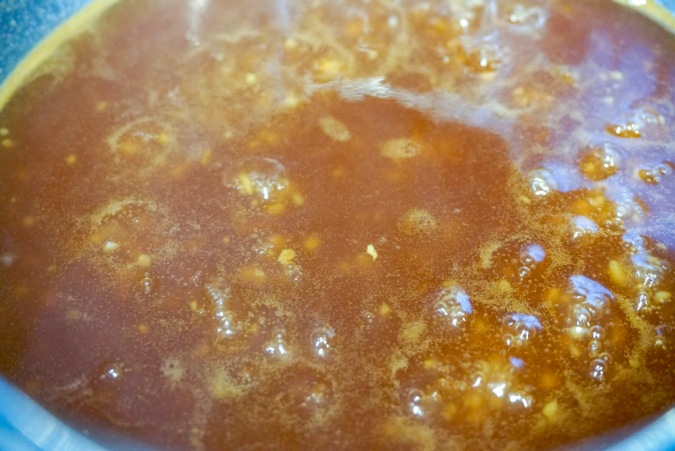
This was stirred up until the sauce thickened.
At this point the cauliflower was ready!
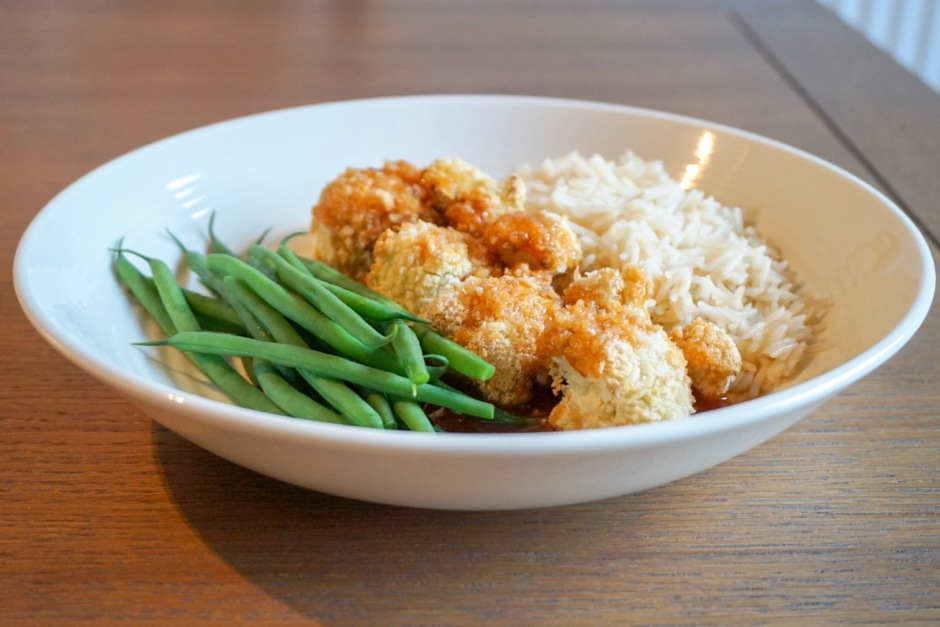
And the sauce was drizzled over top.
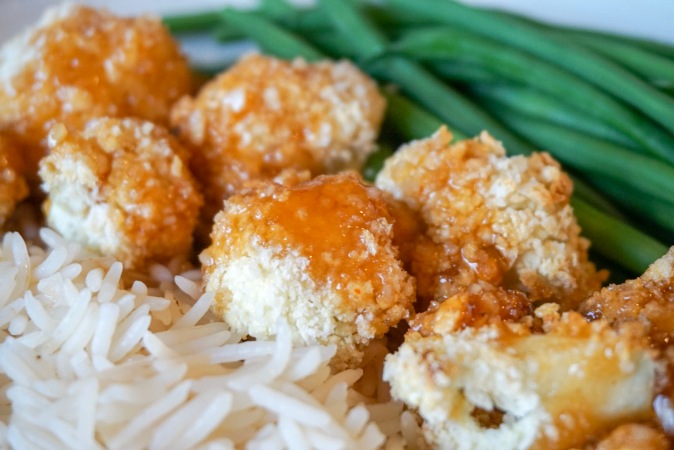
I served this with steamed basmati and green beans.
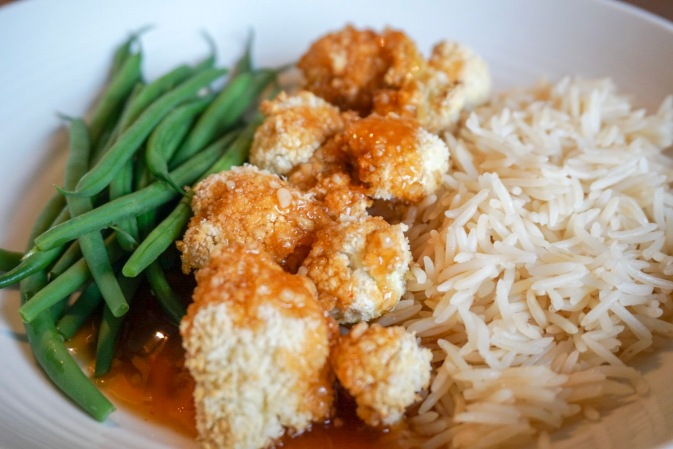
The cauliflower was cooked through, but still had a little bite to it. The breadcrumbs added some lovely texture. The sauce was delicious. I could taste each of the ingredients, and though it was very sweet, it was really close to the flavour of orange chicken I’ve tasted when I’ve been in America. There was a little heat from the Sriracha, which help cut through the sweetness.
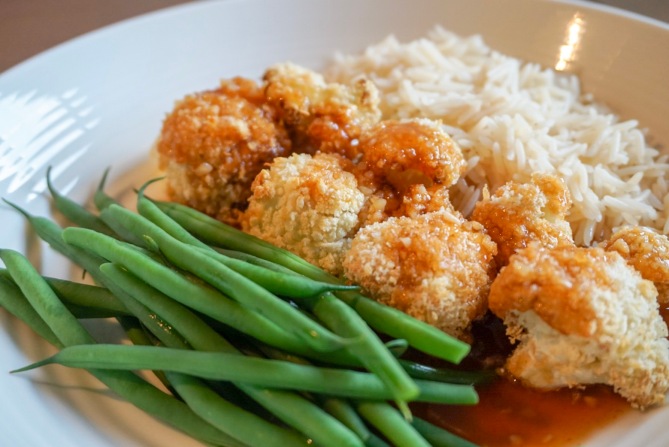
The verdict: I really enjoyed eating this. I actually wished I had more when I’d finished! I’ll definitely be making this again, as it was so delicious and so simple to make!
I give this recipe 10/10!

Well, it might not feel so free at the moment, but you get the picture….
In a couple of days I fly back to Orlando for a 2 week holiday (whoo!)

We’re going to spend it soaking up the Florida sun and exploring some places we’ve never been, visiting places we know we love, and eating all the food.
As a result there may be less posts during this time, and they’re most likely to be the recipe posts for my food challenge which I have written ahead and scheduled.

So expect more posts about what I’ve been up to, on my return. In the meantime, make sure you’re following me on instagram, because that’s where I’ll be posting photos and stories during my trip.
And if you find me there because you read my blog here, please drop me a comment and let me know where you came to me from!

For a good while the recipes I’ve been making have been savoury meals, and Gary really wanted something a little bit naughty and sweet. He chose these peanut butter rice crispy squares, which looked quite simple, and can also be made vegan depending on what type of chocolate you put on the top. I’m not a fan of peanut butter, so I knew these wouldn’t be my ideal snack, but marriage is all about compromise 😀
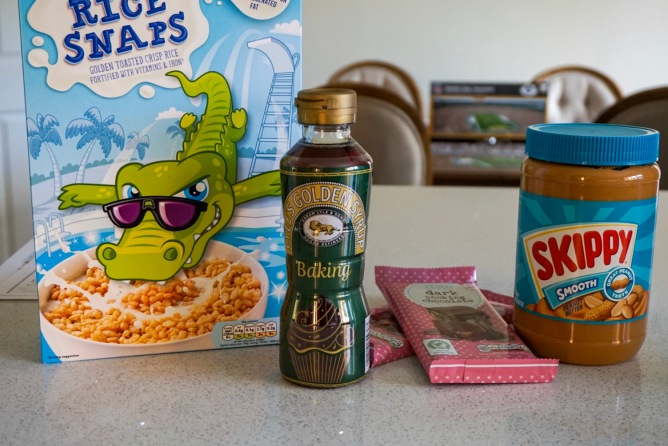
There are only 4 ingredients in this, and you might find you already have these in the cupboard, so who knows, you could be eating some of these this evening!
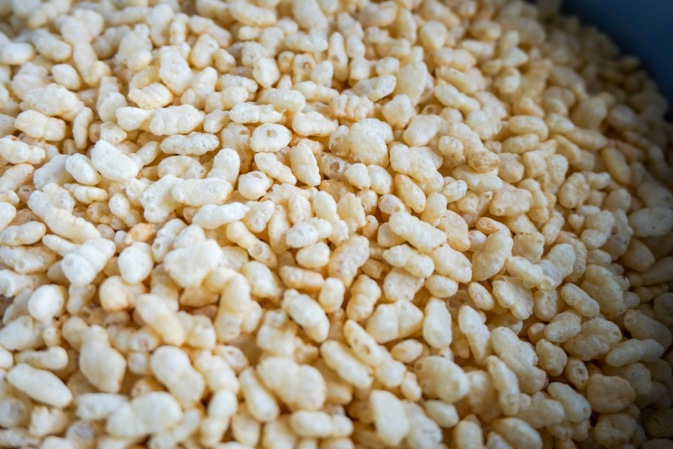
You start off by measuring the rice crispies in a bowl – you need 105g.
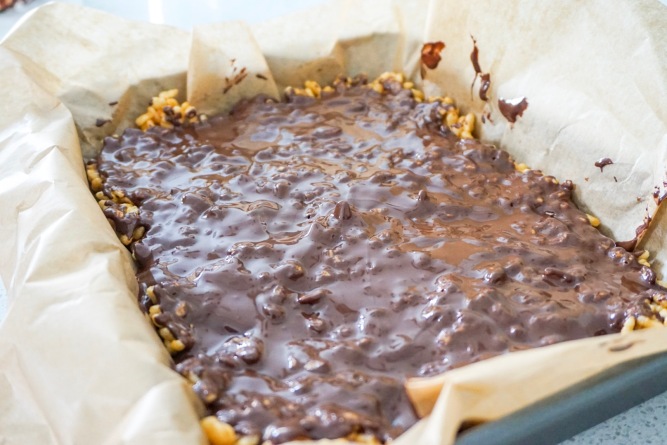
Then line a square baking tin (or rectangle since that’s all I had) with parchment paper.
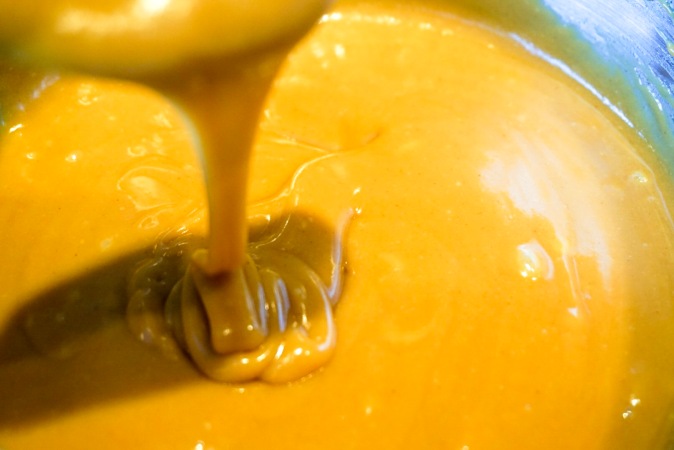
Add some golden syrup (80ml) and peanut butter (83g) to a saucepan and heat them together, stirring all the time until it just starts to bubble a little.

Once it’s melted together, it’ll be smooth.
I then poured this over the rice crispies and mixed it up until each of the crispies have been coated.

This was then pressed into the tray and the tray popped into the fridge to set.
When this had set, I melted 300g of chocolate in the microwave. I heated it in 30 seconds increments, stirring in the middle, until it was all melted.
I then poured the lot over the top of the crispies, smoothed it out, and then returned it to the fridge to set.
Once this was set it was time to remove it from the tin, which was really easy by simply pulling the baking paper up and out. And then I sliced the lot into 20 squares.
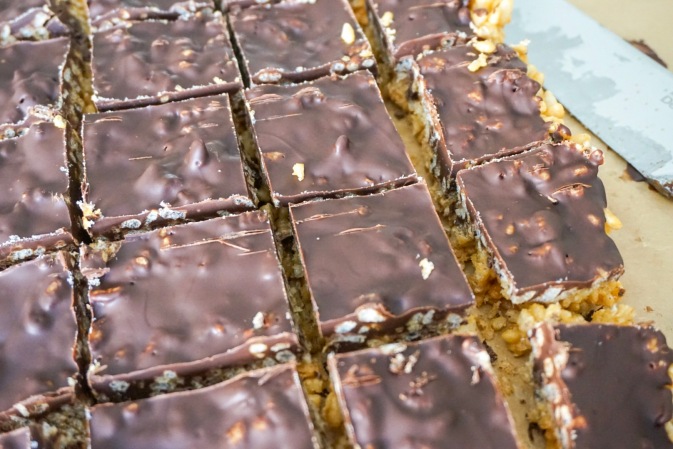

The squares were light and chewy, and a little crumbly (mainly because I’d not pressed the crispies down enough!).

The verdict:
Personally these weren’t for me, but if you like peanut butter, I’m told these are delicious! They were so simple to make, I’m sure I’ll be making these again!
I give this recipe 9/10

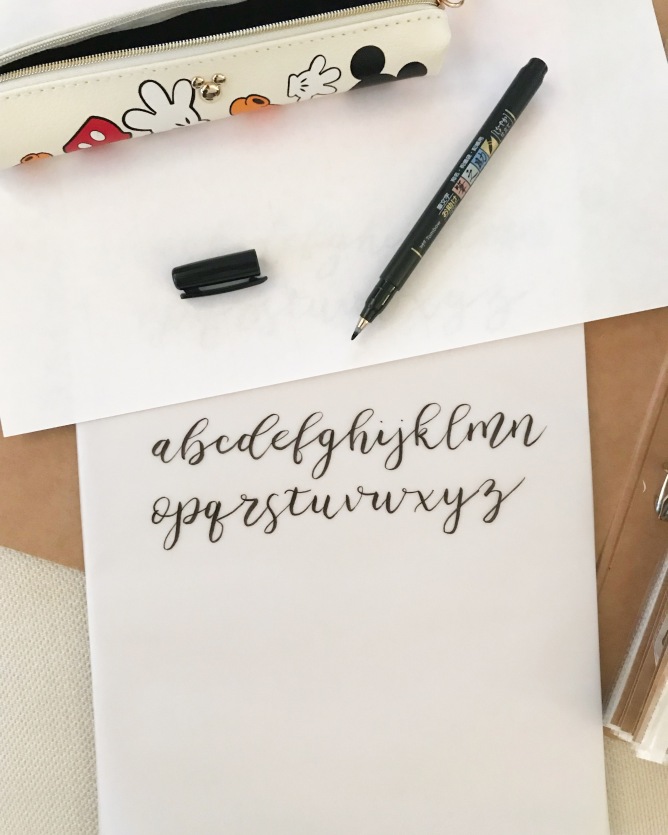
By now you’ll know I’ve been taking an online calligraphy course for Modern Calligraphy, since the start of the year. I still have a module of this left, but I wanted to talk about it again now, since the new semester is now open for registration. If you have always wanted to learn modern calligraphy but haven’t known how the best way to do it is, where to go or what to do, I’m here to tell you THIS is the best way.
I’ve been learning through from a course run by Becca aka The Happy Ever Crafter. She runs the course online, in which the first module (learning your calligraphy drills) is totally free. This means you can get to grips with the basics before committing to anything. It gives you the chance to see whether you have the patience, skill and most of all the TIME to learn over the year, without parting with any cash.
And then even when you do have to pay for the subsequent modules, they’re not very expensive at all. This year she even allowed people to buy the whole course in one bulk payment if they wanted to, or just pick and choose and buy them individually as we got to them. They were also available at 50% off for a short period as we got to each module.
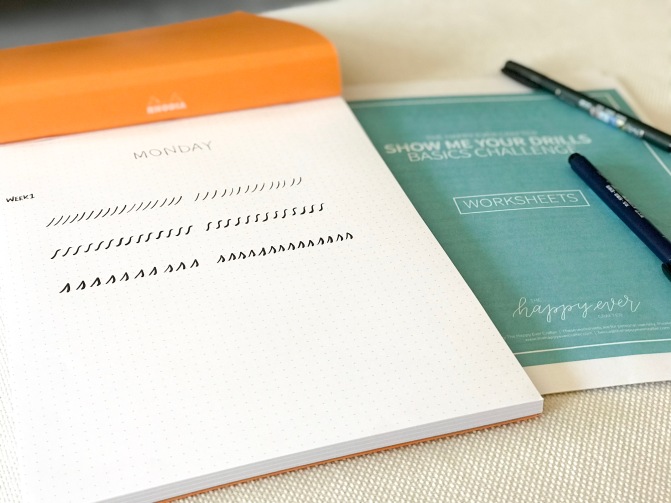
As it’s an online course, you need to print off your own workbooks. So from an expense perspective you’ll need to be able to do this. Or if you’re learning on iPad (which is also an option) your expense is purely the workbook itself. You then need to pick up paper, pens and tracing paper if you choose to use it. At the start of the course Becca tells you about different equipment you might want to use, what she uses, and where to buy the stuff. She also provides videos on each workbook to help you understand how best to use them.
Apart from the workbooks being amazing and easy to work through, she also offers communication through emails, and encourages you to take part in the community via a closed Facebook group and also setting up your own dedicated instagram account where you can interact with others taking the course via hashtags. (Mine is at https://www.instagram.com/lettersbygroggits/ I have to say, I was astounded at the level of community created via this course. You get so much encouragement and inspiration, not to mention confidence, by sharing your work and seeing the work of others.
By the end of the Drill section I was all in. My confidence had grown in leaps from week to week and I was ready to start writing letters. We were encouraged to write out what we thought the alphabet would look like, and then shown how to use the shapes we’d learned and practiced in the drills, to create the letters.
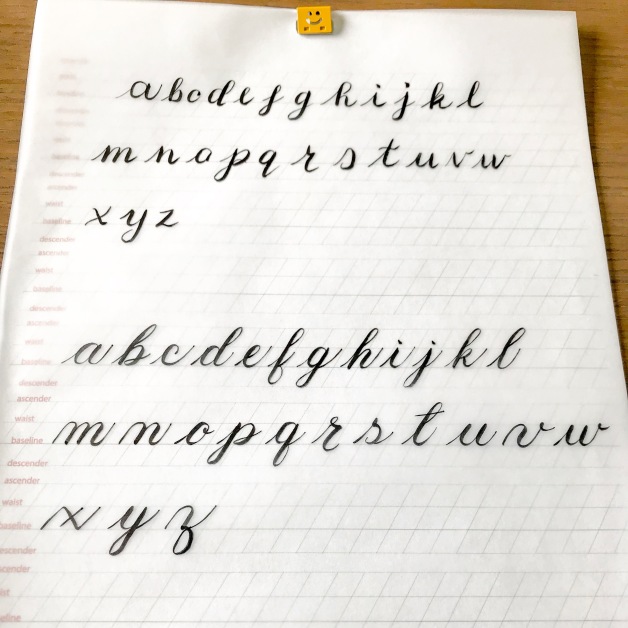
This is my before and after sheet, showing the difference between where I started and where I ended with the lower case letters. Quite the difference!
From here we learned upper case, numbers and symbols, joining the letters to make words, bounce styling and we’re currently learning how to flourish the words.

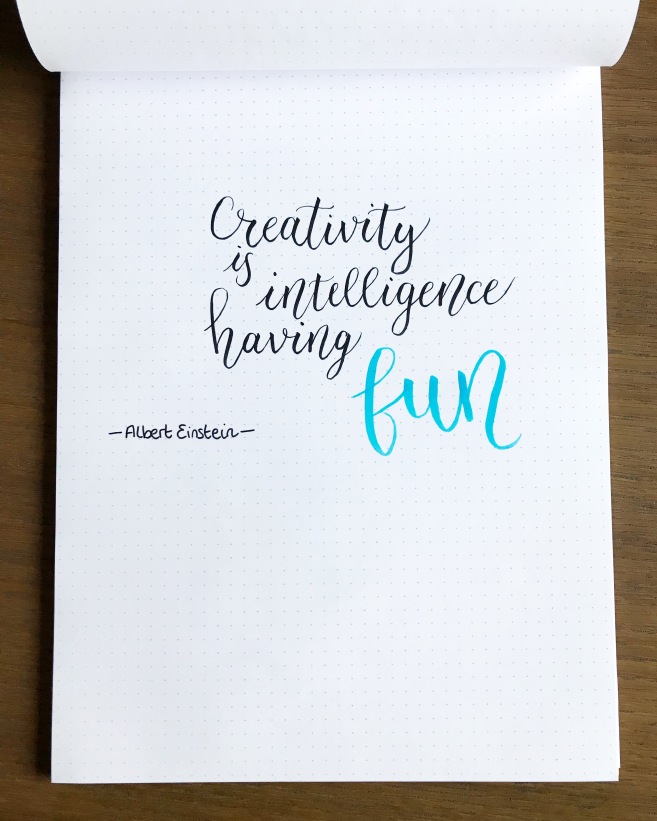
By setting periodic challenges we could put the letters together and see how far we’d come.

Using set words, and being encouraged to write them in ways we wouldn’t have thought of before.

Not only has this taught me that I CAN learn a new skill, I DO have the patience to slow down and concentrate on getting it right, and I have even a little amount of creativity in me, it’s also opened me up to a world of other creatives online and on instagram. The world of creative lettering.
I’ve started to move onto iPad lettering too, but this might take a little practice. But I’m apparently okay at little drawings too, so I’m enjoying practicing and sharing those.
If you feel like this is something you’d like to see if you’re good at, I’d encourage you to head over to The Happy Ever Crafter’s sign-up page and give her Show Me Your Drills module a try. It’s free, so you can’t lose out, and I guarantee you’ll fall in love! The module starts on October 1st, so you’ll have until then to sign up.
It hasn’t been lost on me that my last few recipes have been tomato-heavy. Apparently that was what I was fancying for the last few weeks. It’s been hot and summery and tomatoes taste the best in hot weather.
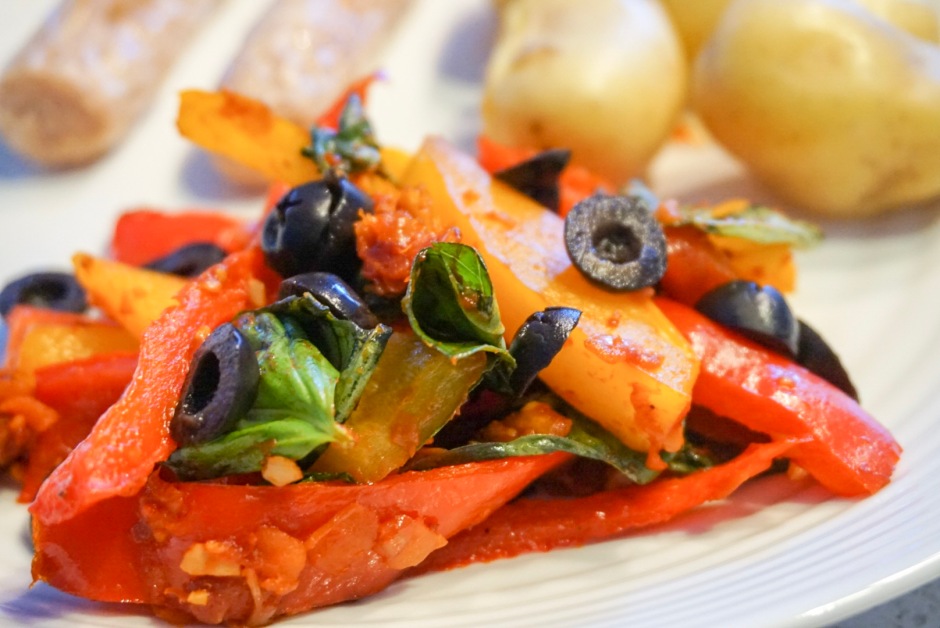
But for this week’s recipe I tried out something I’d never had before, Peperonata, which is an Italian side dish. I decided to serve this with sausages and new potatoes.
For this recipe I halved a recipe I found which was intended for 4 people.
This recipe is so super easy:
You fry 1.5 cloves of garlic (which has been thinly sliced) and 1/2 an onion in oil for around 8 minutes until they’re golden. I have lazy garlic which is diced, so I just used that.

For this recipe I used one yellow bell pepper and one red sweet pointed pepper, both sliced into strips.
These were added to the pan and cooked for 5 minutes.

Then you add vinegar (0.5 tbsp), passata (63ml) and season it. The recipe then states you need to simmer the whole lot for 25 minutes.

I personally feel that what was in the pan was too dry to simmer, and 25 minutes was a little too long. But I persevered!
Once the whole lot had cooked down, I removed it from the heat and stirred in a handful of fresh basil and some sliced black olives.
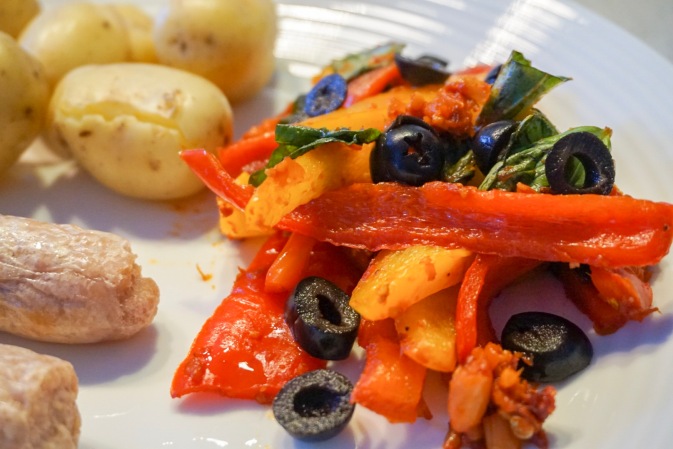
And this is the finished article! The flavours and textures were very good. I liked the basil and olives, as they added a nice texture and freshness.
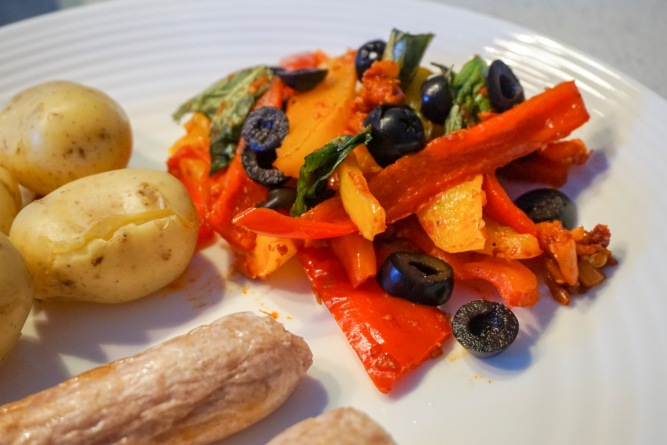
As you can see, it’s a little dry-looking and thankfully the peppers added some moisture, however I feel like if I make this again I’ll make enough for 4 because I think by halving the amount it reduced the required amount of liquid to cook it all properly.

The verdict:
This tasted really good, but there wasn’t enough punch of flavour to make it ‘delicious’. I think I’d like to try making it one more time to see if I can get it right, and then decide if it’s something I’d like to have regularly.
I give this recipe 6/10

Hi! Me again 🙂
I used to write monthly favourites, but who can honestly say they’ve loved something brand-new, every single month? Well, maybe you can, but I can’t. So I tend to write these ‘favourites’ posts as and when I have enough things to share with you. And August happens to be one of those months.
I’ll start with something I’ve been using since around March time. People moan a lot about the amount of ads bloggers and instagrammers post, but to be fair to them, if you saw something you wanted, you wouldn’t moan. They can’t offer something YOU specifically want every time, so just let the ones you’re not interested in go. And if you don’t trust their opinion, stop following them! (Rant over) If it hadn’t been for Maria J posting on instagram about the Lee Stafford Rainbow Shine Bubble Waver, I would never have found my perfect hair styling tool.

I have long, poker-straight, hair that I try to twist and bend into some kind of waves, but it’s stubborn and the curls would drop out unless I sprayed concrete fixing spray on it or spend hours curling and setting it. Enter this amazing bubble wand.
Not only does it look like it came from a Unicorn salon, but this waver is so easy to use and produces amazing beachy waves, every time I use it.

I have fine hair and find it only takes a maximum of 5 minutes to wave my whole head. It’s amazing, and I use it every time I wash my hair. It comes with a heat protection glove, which is great for accident-prone me. I bought an inexpensive travel pouch for it, on Amazon, which also doubles as a heat protecting mat, since the little stand on the wand does get pretty warm. I love this hair-styler so much, and I can’t believe I went without it for so long! Oh and it’s only around £40. Win!
To protect my hair, I also use the Lee Stafford Coco Loco Heat Protection Mist.
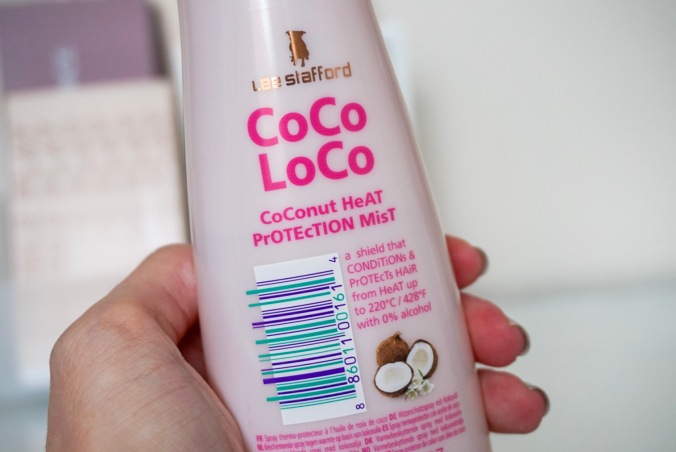
You’ll know, if you’ve been reading my blog for a while, that I’m a sucker for anything coconut scented. To find this heat protectant in this gorgeous coconut scent was such a bonus. It can usually be found for around £4-£6 depending on what deal it’s on, but I don’t think I’ve ever spent more than £4 on it. I spray this over my towel dried hair before I blow dry it. Then you’re supposed to spray it onto each section ahead of curling, but I find this too heavy for my hair. The light amount of spray I’ve been putting on my head ahead of drying it seems to be doing enough, and my hair isn’t suffering at all from the heat of the curling wand. I also find I can still smell this spray in my hair, right up until I wash it again a couple of days later. It’s subtle, not overpowering, and really pleasantly natural. I have found I get comments from people saying my hair smells nice, when I hug them (I sometimes hug people….)
Next is something I was given for my birthday, but I’d asked for it in the hope it would be good. I’ve heard a lot about Lancome’s Monsieur Big mascara, and though I don’t own it, it’s on my list of things to pick up in Sephora on my next trip to the States, because it’s slightly cheaper there. But they recently launched a waterproof version, and I thought it would be great for the Florida heat. I don’t generally get on with waterproof mascaras. They’re notoriously hard to remove and traditionally do ZERO for my lashes, leaving me with a massive removal issue and no pay-off.
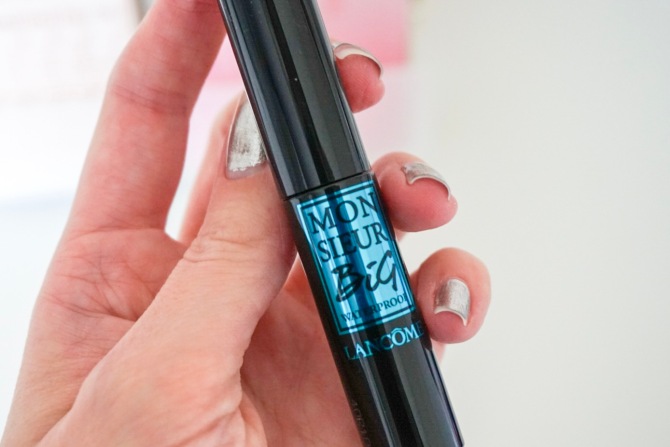
This launched exclusively in Boots, though it might be available elsewhere now. They do a ‘midi’ size which I figured would be perfect for travel and since I don’t plan on using it every day, would mean less waste when it eventually dries out.
So, as I say, I was given this as a birthday present, and to date I’ve used it twice. And I am SO impressed.

Not only does this give me a lovely full, lengthened and fluttery lash-look, which is hard with my straight lashes, but it kept its curl all day. It doesn’t flake or run. I kept it on when I washed my hair and it didn’t run at all with much water and rubbing over my eyes. AND it was easy to remove using a Simple makeup wipe. It came off with very little issue, no rubbing and my lashes felt conditioned afterwards.
I’m so impressed, I can only hope that the non-waterproof version performs as well.
The last beauty item I’m talking about this month, is one I’ve used a couple of times, but again love it so much it’s worth mentioning.
I’ve spoken about the Glossier Generation G lipsticks before. They offer a matte, subtle and very comfortable wash of colour to the lips for a ‘blotted’ look. They can be built up nicely for more pigment, and wear off comfortably and evenly. I needed to pick up some more lip balm and eyebrow gel so I decided I’d get a new shade of Gen G whilst I was at it. I picked up this one in Cake.

The Glossier website is great in the way it shows how each shade of product will look on different, so I knew this shade would be subtle on me. But I hoped that it would be close to my natural lip shade and offer me a little ‘something’ when I’m looking a little dead in the mornings. And it does just that!

I’d call this a brown shade, with a little rose colour in there. I’ve used it twice, and though it’s very subtle, it really really add that pop to the lips that I sometimes need. It’s comfortable and can be built up too. I can also offer you 10% off your first Glossier order, if you wanted to buy one of these, by following this link http://bff.glossier.com/hCHG5 (I’m not being sponsored for any of this, but I do get some credit in my account if you use the link, which will help keep me in lip balms for a few more months!)
The final thing I’ve been loving this month is the new Ariana Grande album Sweetener.

I mentioned it in a past blog already, but I’m seriously in love with this album. I wasn’t too sure the first time I heard some of the songs, but now I can’t help but listen to it every single day. My favourites keep changing but I LOVE Goodnight n Go, God is a Woman and Breathin. If you like her past stuff, this has more of the vibe her Christmas & Chill EP had (apart from this isn’t about Christmas) and probably should win an award for some of the most annoying background noise samples in an album, but I still love it! I’m hoping I’ll get to see her when she tours this album!
And that’s what I’ve been loving this month. Have you tried any of these things, or heard Ariana’s new album? I’d love to hear your thoughts!

The weather had turned slightly autumnal when I picked out this recipe, and though it’s a stew, it was pleasantly light and not at all stodgy, which is what I’d hoped. It’s not quite autumn yet!
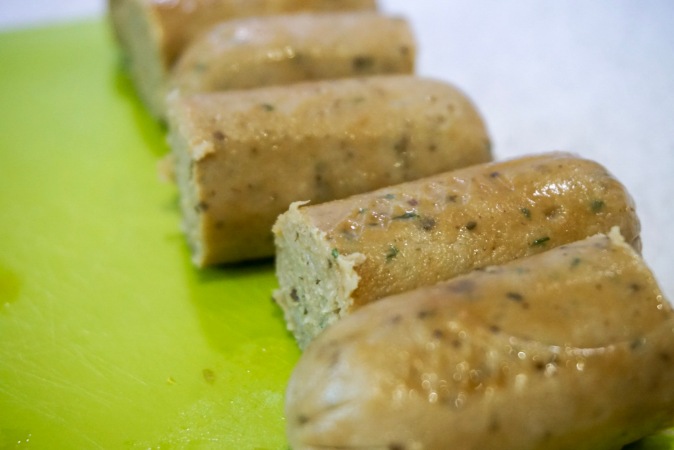
What I liked about this recipe was that it used veggie sausages, a I used the Cauldron Lincolnshire ones, as recommended by the recipe.
This was a very fast and very filling dish. I made enough for 2 people.
You start off by frying 3 of the sausages (halved) and 1/2 a diced white onion in a little oil, for about 8 minutes.

Then you add 1/2 clove of garlic (diced), 1/2 tsp of smoked paprika and some chilli flakes and cook for one minute.

While these were cooking, I wedged 300g of salad tomatoes.
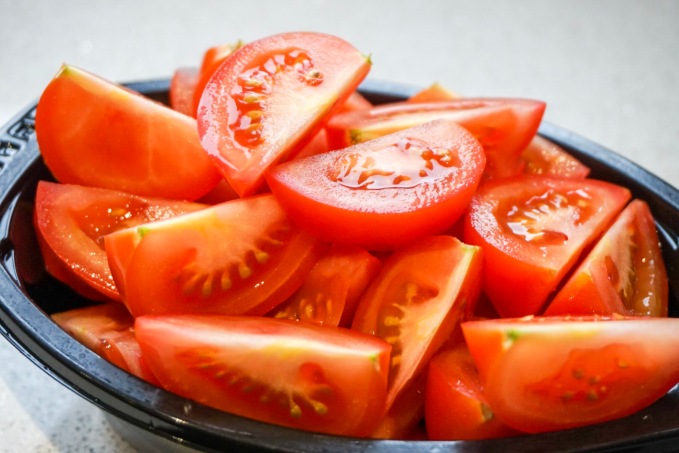
Once the spices are cooked out a little, you add a pinch of sugar and all the tomatoes to the pan.

These cook for 5 minutes, and you can see the tomatoes start to soften and break down slightly.
Add in 100ml of vegetable stock and a 400g can of cannellini beans that have been drained and rinsed.

Season and stir, then simmer for 5 minutes.

At this stage you’re meant to add in some freshly chopped parsley, but I hate the stuff, so a little ground pepper will do for me!
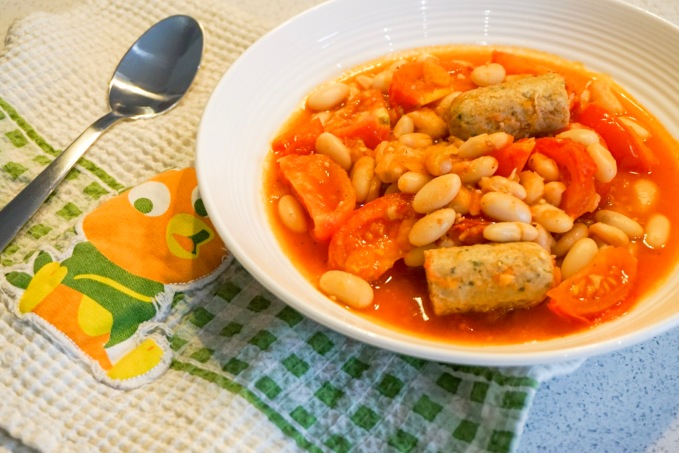
I served this into bowls, and we ate it with a spoon and fork.

Though the sausages still looked a little pale, they were cooked through and tasty.
The beans were soft and the broth was well-seasoned, warm with chilli spice and very delicious.

It did feel like there was a LOT of tomato in there, so you’ve really got to like tomatoes to eat this!
The verdict:
I did enjoy this. The flavour of the broth was lovely, though I wasn’t overly keen on the sausages as they had a meaty texture which I was put off a little by. The seasoning was great, and the beans were lovely, though, as I’ve said in previous recipes, I’m not the hugest tomato fan so maybe less tomatoes would have been better for me.

Still, it was a tasty enough recipe, that I might consider making it again, but I might try a different type of veggie sausage. These sausages contained a little milk protein in them too, so weren’t dairy-free which surprised me. But that’s a different issue!
I give this recipe 6/10
