That’s All Folks…

Well, this wasn’t the post I thought I’d be putting up next. As you probably know from my last post, I had quite a few entries planned.

But when it came down to it, the only post I actually had the energy to write was this one.

I always said blogging is only worth doing if you’re writing posts for yourself. It doesn’t matter how many people read what you write, as long as you’re posting for yourself. I know I don’t have a huge readership. Most of the people who read my posts are people I know. And it’s mainly for them that I’m writing this one. I’m not one for big dramatic exits. I’d much rather fade into the background and disappear without anyone noticing.

Over the past few months I’ve become frustrated with the ‘blogging community’. It’s not what it once was, and really isn’t a community any more. Blogging isn’t blogging as I knew it, any more.  The majority of people do it for reasons I wouldn’t choose to do it. And even people who do it well, and for the right reasons, aren’t doing it for the reasons I used to (and still do). Blogging doesn’t mean what it once did. And so I have increasingly found I’m not a blogger. I am in the original sense, but not a blogger in the way it’s meant now.

I started blogging 20 years ago. I’ve been writing this particular blog for almost 10 years. But now I can’t keep up, I can’t compete, and I don’t want to. Not only that, I have found I resent the time I find it takes to write, edit and photograph for each post. It takes between 1-2 hours for a standard post, per post. And that’s time I could be spending with family, friends, taking care of myself.

I love to write, but I don’t have the energy for it any more.

I’m not saying I’ll stop for good. I’m not saying I’ll never post again. Who knows what the future holds. But I am saying that the accidentally self-imposed blog schedule is too much for me now. I’m saying that sharing my thoughts has taken a different format over the years and it’s much kinder to my time to post things on instagram. I’m saying that I don’t have the energy to think of things to write, and pretend that the things I write hold my own attention, let alone the attention of anyone who might fancy reading it.

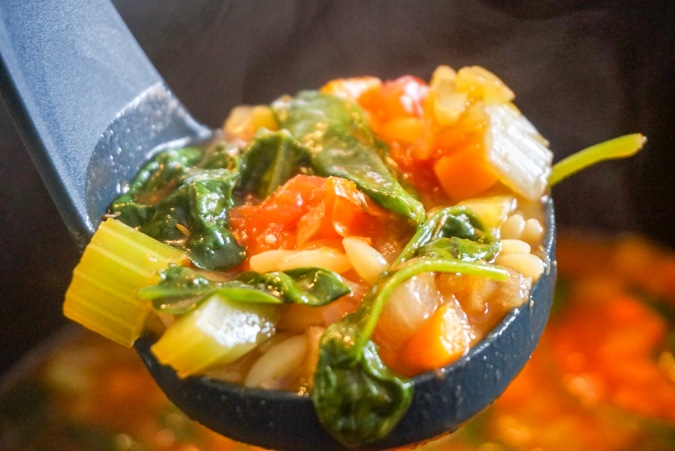
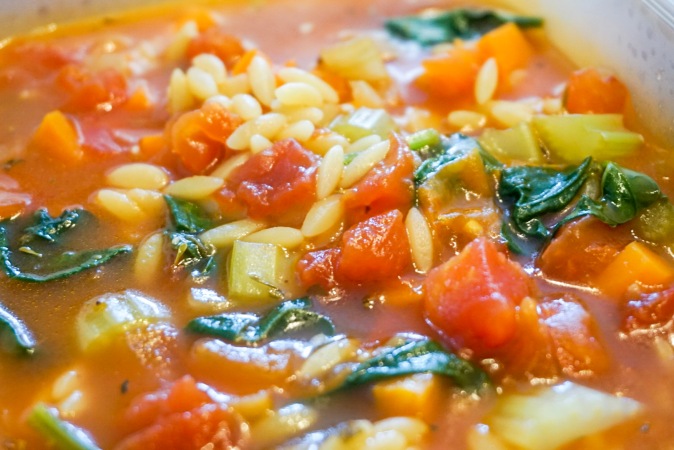
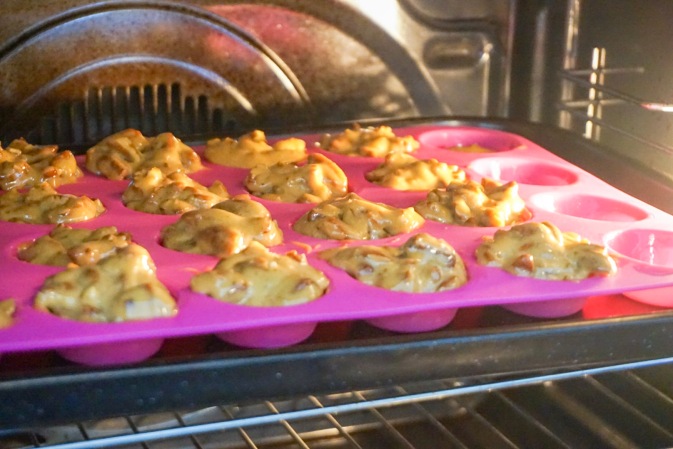
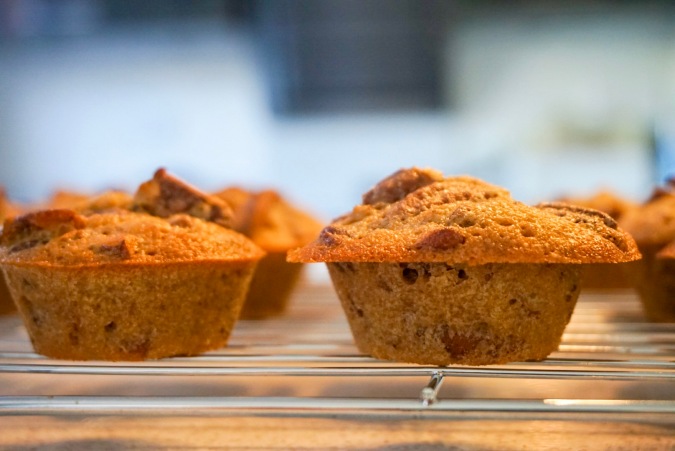
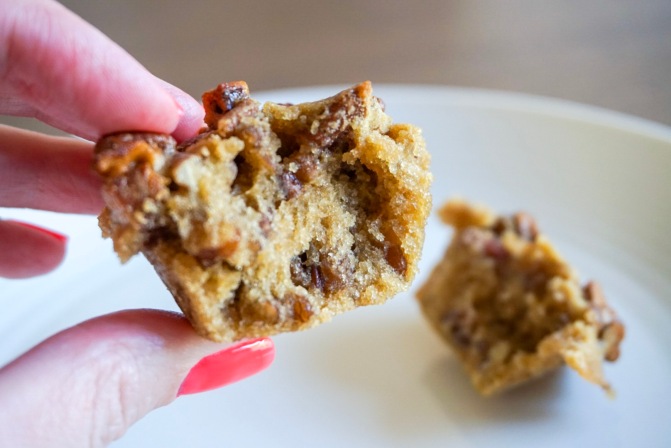
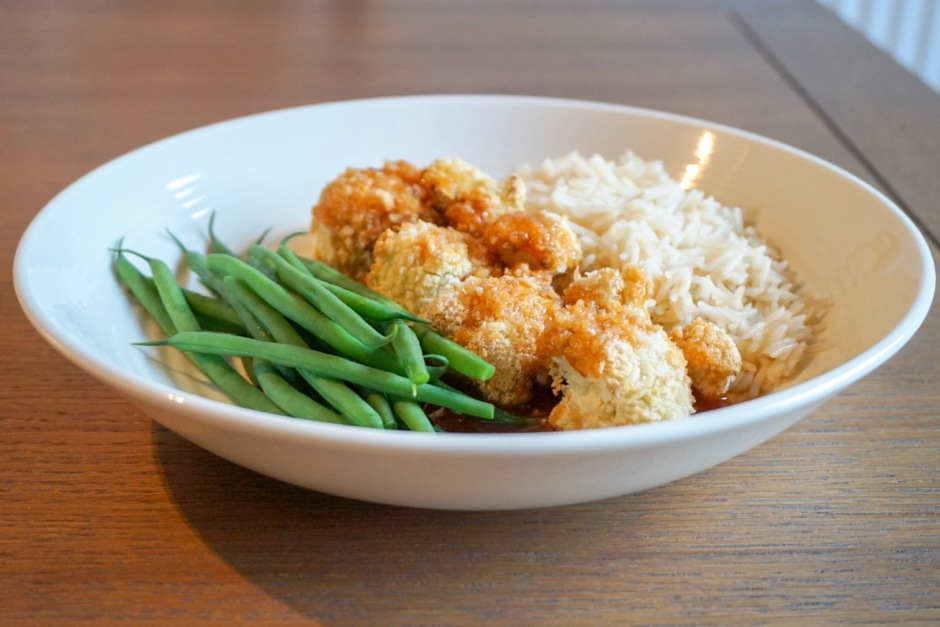
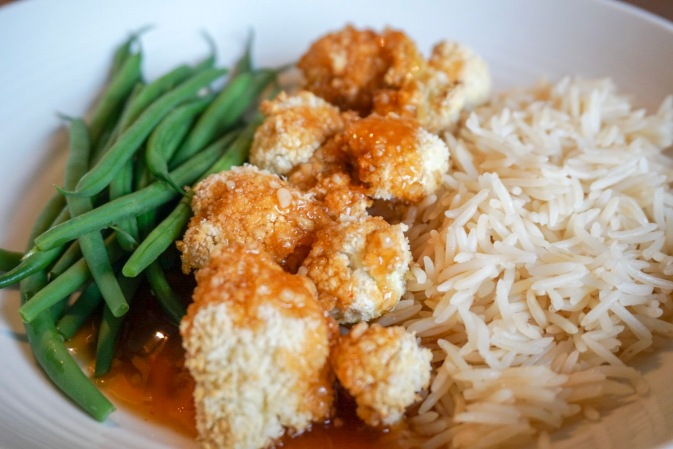
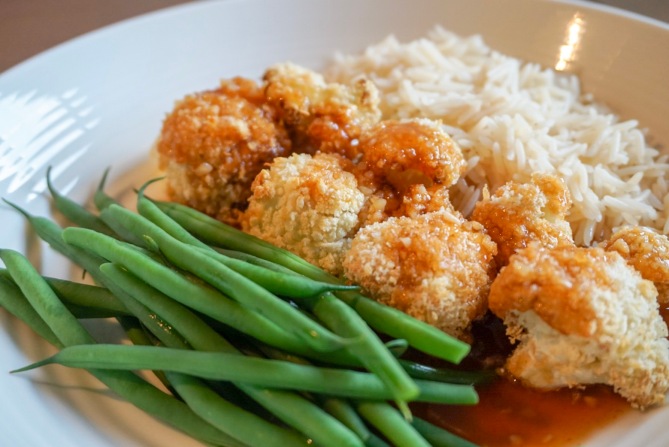
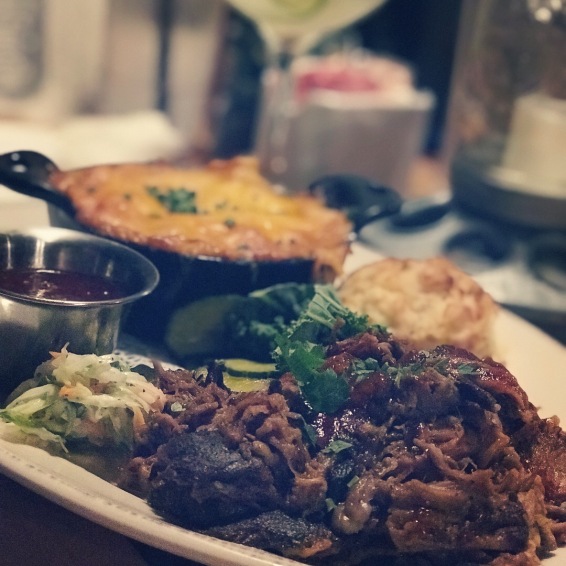
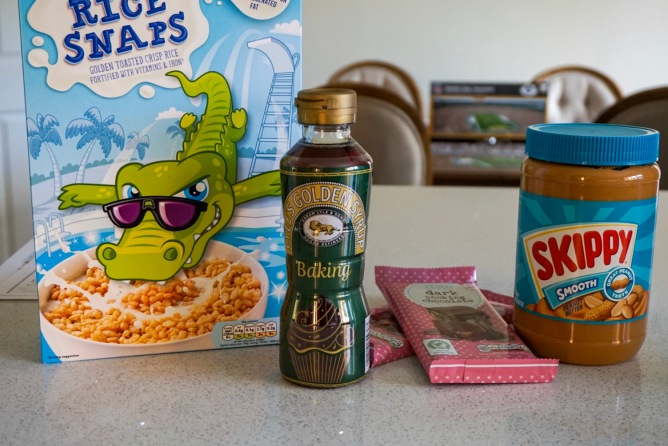
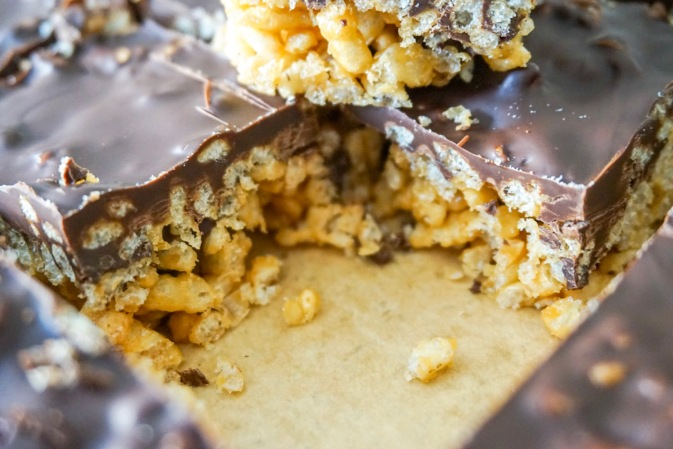
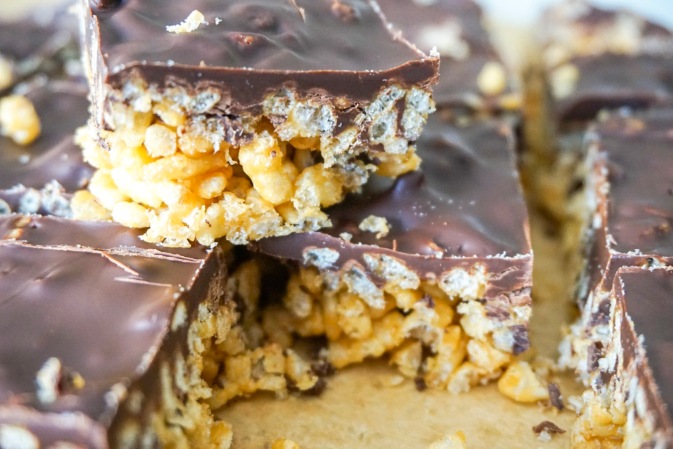
It also means I won’t be completing my 2018 food challenge. I’ve completed 40 recipes (posted 39) which is huge. It’s been great fun and I’ve expanded my recipe book and my skill-set during the challenge. But again, it’s too tough right now. So here’s where it ends. I’ll most likely post pictures of recipes I make on instagram (find me at @groggits) and I know I’ll keep making the effort to look for new recipes more regularly.

But for now, I want to thank you for reading, and supporting. Thanks for the clicks and the comments. And who knows, I might see you back here again, one day.

5096832206_4ebdb842bd_o

Attending a Live Podcast: Beautiful Anonymous

Literally the evening before I flew to Florida, I hot-footed it from my Gatwick hotel room to central London and King’s Place for the London Podcast Festival.

IMG_6052

It feels a little backwards, attending a live podcast recording. I guess they all have to be recorded somewhere, but a podcast should be heard and not seen, right? Wrong!

I’ve mentioned my favourite podcast, Beautiful Anonymous, in a previous post. But if you’ve already seen that, or you already know about it, then you’ll understand why I wanted to go to this. Hosted by American comedian, Chris Gethard, I was expecting humour from him but from the actual call – who knows?

We settled into our seats in the small theatre, being lulled into comfort by some mild punk music. And then it began! Chris came out and spoke to us for a little while, and then we were off. The show music was playing, and there was a caller!

IMG_6053

I was aware that the caller would probably be from the UK. They tend to put out a number from the country they’re in when they do live BA shows. But fairly often, the caller ends up being from nearby, and not necessarily the country the phone number is from. This was the case this time around, and it was a caller in Paris.

I won’t go into the detail of the call. The first half of the show was a little slow. The caller had a hard time articulating what she really wanted to talk about, and Chris was having to concentrate quite hard to catch the end of the line she was dangling. I also found the sound in the room quite bass-y and as a result found it hard to understand what the caller was actually saying. I find it hard to hear the lower range of sounds, in general, so that was an issue for me. But by the second half Chris had pulled it back, turned it around and actually controlled the call really very well.

IMG_6056

The subject matter was deep, but very interesting and Chris even managed to leave the call on a mighty cliff-hanger. What a dude!

Afterwards he had to rush off to do stand-up at another show, and there was another podcast recording in the same room 30 minutes after our’s had ended so we knew we had to leave sharpish.

What I loved about the show, and the people who visited (and the BA ethos in general) is that there’s very little judgement involved. Everyone was there to hear the perspective of another human, and listen to their story. Everyone was accepting, and I felt very at home in that group of people on that evening.

If you listen to podcasts and you hear that they’re doing a live recording near you, I’d recommend attending. It’s a really nice way of experiencing your podcast in a different way, and it puts a really interesting spin on the whole thing!

If you’d like to listen to this recording, it already been put up and can be downloaded via the Podcast app on iTunes. The show is called Beautiful Anonymous and the episode is titled ‘What’s it like to be a man today?’

This Week I Have Been Mostly…. Florida Edition!

And we’re back! This week, I have been mostly recovering from jet lag….

We landed last Saturday morning, and were immediately confronted with car troubles, when all we wanted to do was drive home and sleep and then dribble on the sofa whilst catching up with Bake Off.

We still managed to do some of that, but only after a good few hours of stress levels we just weren’t capable of handling at that point in time. What a bump back into reality, eh?

Car all sorted, we were able to reflect on what was a really great holiday. Two weeks of making it up as we went along in Orlando, was just what we’d hoped it would be. I’m not planning to write a dedicated post on everything we did, however, I’ll just give you a little rundown now AND I’m planning on posting a couple of food related posts, all about what and where we ate (that’s the important stuff, right?). There are some amazing little places you can find, if you just know where to look. So I’m going to tell you – keep your eyes peeled for those posts, over the coming weeks.

Anyway, here’s what we got up to:

IMG_6091

We started off our trip with the traditional breakfast at Cracker Barrel. I’ll tell you more about this place in my food post, but it’s a really lovely relaxed ‘country’ style restaurant that serves a pretty decent breakfast.

IMG_6185

We visited some of the little towns around Orlando. This is Celebration and is so pretty.

IMG_6330

We went to a NFL football game, and saw the Tampa Bay Buccaneers play the Pittsburgh Steelers, which was a great experience.

IMG_6424

We ate a LOT of great food, saw some amazing places and tried not to expire in the 40c heat!

LRG_DSC01872

We visited the Kennedy Space Center which was something on my bucket list. It was really interested and such an amazing place to visit.

IMG_6161

We did some Disney World Resort hopping and saw some resorts we’d never been to before, and also visited the Magic Kingdom for one of their Halloween parties.

It really was a great trip, and felt a bit like we managed to finish off the things we didn’t do last year, but simultaneously warm ourselves up for our proper Disney World holiday next year!

But now we’re home, we’re back to it! Halloween is around the corner, and though I normally post quite a lot with regards to scary movies this time of year, I only have one post like that planned this year. So if you’re a fan of Blumhouse, keep an eye out for that post coming shortly. I also have plenty more recipes coming as part of my 2018 Food Challenge, and I also need to tell you about a live podcast recording I went to recently.

There’s so much to come! Stay tuned 🙂

Food Challenge Recipe 39: Italian Orzo Spinach Soup

I’m back! We’re back from America, so this week’s recipe doesn’t come from there, like my last three have. This one is actually Italian, and though the title states it’s a soup, it’s more of a stew in my opinion.

I made this as a warming lunch option to take to work. It serves 6 people and is fairly simple to make. It’s very filling, but that could just be the way I portioned it out!

I also made a fairly big mistake whilst making this, but it all ended up okay in the end….

You start with adding a little oil into a large stock-pot and adding 1 small white onion (diced) and fry for about 4 minutes. Add 1 cup of diced carrots, 1 cup of diced celery and 2 cloves of minced garlic. The recipe called for 3 cloves but I didn’t want that much. Saute this for an additional 3 minutes. This was where I made my mistake, and just forgot to put the carrots and celery in. I know, I know – weird but I did it.

LRG_DSC01786

So that’s the onion and garlic, minus the carrot and celery.

Next I added 1.5 litres of vegetable stock, 1 can of chopped tomatoes, 227g of orzo pasta, 1/2 tsp of dried thyme, 1/4 tsp of oregano and 1/4 tsp of dried rosemary and stir to combine.

LRG_DSC01787

I brought this to a simmer, and turned around in the kitchen. There behind me on the kitchen island was a lovely bowl of diced carrots and celery. DOH!

So I plonked them all into the pot too, and hoped for the best!

LRG_DSC01788

This was brought to a simmer, then the heat reduced to medium-low and simmered for 10 minutes (or until the pasta is al dente), stirring occasionally.

Then I added 4 cups of spinach leaves.

LRG_DSC01789

Stirred all together, I then tasted the pot and added 1.5 tsp of sugar, salt and pepper.

This was cooked for 2 minutes and it was ready!

LRG_DSC01790

At this point it looks like there’s a lot of liquid, but there’s so much veg and pasta in there that I felt like it was more of a stew type consistency.

LRG_DSC01792

I don’t think the soup suffered from the mistake I made. The veg was cooked through enough, but who knows, that could have contributed to a lack of moisture in the soup.

LRG_DSC01796

This soup was really flavourful. It filled me up on each occasion I ate it, and I felt like I was getting a good healthy balance of vitamins and minerals from the rainbow of ingredients I was eating.

The verdict:

This was a really nice soup, and it will make a lovely addition to my home cooked work lunch ideas. I’ll most likely make this again, down the line, and I can see it being really nice and warming in winter and spring.

I give this recipe 7.5/10


Food Challenge Recipe 38: Frico Grilled Cheese Sandwiches

In the UK we have toasted cheese sandwiches, traditionally made in a sandwich press contraption, that’s usually so hard to clean after use that it’s makes more sense to buy a new one each time that try and get it clean. In the US they have no such problem – they make grilled cheese sandwiches and they are made in a skillet or frying pan. Simple, quick and much easier to clean up. I started making my grilled cheese sandwiches this way a few years back and it’s the only way I’ll do it now. They’re called ‘grilled’ cheese because in America when you ‘grill’ the heat comes from below, as opposed to in the UK where when we grill something the heat comes from above. (Think BBQ grill and you’ll get the idea)

Now, I know what you’re thinking – grilled cheese – that’s not a new recipe. But bare with me. I spotted this recipe over on smittenkitchen (yes her again!) and thought to myself “the only thing you can do to make a grilled cheese better is…. MORE CHEESE”.

The thing that makes this grilled cheese BETTER is the addition of a small amount of cheese in the pan before the sandwich goes in. This creates a crust of that crispy, cheese, lacy melted cheese on the outside of each side of the sandwich. This thin lacy, crispy layer of melted cheese is also known as Frico.

So, to make this epic grilled cheese you start of with some decent bread. Thick but not too thick. I ALWAYS make my grilled cheese with sweet chilli sauce inside. I love how the sauce mingles with the mature cheddar flavour. It adds beautiful sweetness and slight heat, which cuts through the cheese.

LRG_DSC01812

I put about that much on the bread and spread it out evenly.

LRG_DSC01813

Then as much grated cheese as you want, but bare in mind this has to melt evenly. This is why grated cheese is more effective as the surface area of the cheese bits are smaller. I used lactose free mature cheddar.

Then top this with the other slice. At this point, I use a spoon to spread a fairly thick layer of butter (I use Vitalite) on the outside of the top slice. I say to use a spoon to do this – I’ll explain why in a minute.

LRG_DSC01814

The next step is the warm the pan on a low-medium heat. Now the Smitten Kitchen recipe says you use 1 tbsp of grated cheese next, but I didn’t think this was enough so I used 2 tbsp (I was right).

You sprinkle the cheese into the pan, right where the sandwich is going to go, and the place the sandwich, butter-side down on top of the grated cheese.

LRG_DSC01815

Now remember I told you to use a spoon the spread the butter earlier? Here’s why. You now have a sandwich slowly grilling in the pan, but the side that’s facing up has no butter on it. I don’t like to butter both sides when prepping because you’re left with a buttery sandwich you can’t put down anywhere. Once it’s in the pan, you need to butter the side that’s now face up. But if you use a knife in a frying pan, it’s hard to get the angle you need to spread it. Enter: THE SPOON! It’s perfect for spreading at an angle and you’re not going to accidentally touch the hot pan. You heard it here first.

LRG_DSC01816

You’ve got to let the sandwich fry in the pan until it’s golden underneath and the cheese browns and fricos. This is about 4 minutes. Then you lift the sandwich up and out of the pan with a spatula, sprinkle 2 more tbsp of grated cheese on the pan and flip the sandwich over on top.

Cook this until that side is brown and crispy, pressing down with the spatula to encourage all the cheese inside to melt together.

LRG_DSC01817

And you’re done!

I always cut mine in half because it’s HOT in there.

LRG_DSC01823

As you can see, the outside is crisp and the cheese has created a wonderful Frico crust.

LRG_DSC01818

The inside is still melty, but the outside is that wonderful strong and crisp cheese flavour.

LRG_DSC01824

I won’t mince my words when I say, this was the best grilled sandwich I’ve ever eaten.

I give this recipe 10/10!


Food Challenge Recipe 37: Pecan Pie Muffins

As you will know, I’m currently on holiday in Orlando so I thought that the recipes I post whilst I’m there should be reflective of the kind of food I love to eat when I’m there.

This recipe for pecan pie muffins is so quick and simple, and uses very few ingredients. The method is a little unorthodox for me, but I went with it and the result was just fine!

This made 20 mini muffins. I’ll mention here, that the size difference between a muffin in the UK and a muffin in the US is different, so I just went with it and made the amount that the batter gave me. The recipe states it’s 8 muffins. I made 20 mini muffins. I suspect mine were mini cupcake size.

I set the oven to 160c (fan) and buttered a silicone tray in preparation for the batter. Then I chopped the pecans.

LRG_DSC01797

In a medium bowl I mixed the dry ingredients together: 1 cup of packed (pressed down) light brown sugar, 1/2 cup of plain flour, and 2 cups of chopped pecans.

LRG_DSC01799

Now, with cake batters, I’m used to creaming the butter and sugar together to start with and then adding the rest of the dry ingredients. Then when you add the eggs, there’s no curdling and everything is smooth. The next step in this recipe was to ‘beat’ 2/3 cup of softened butter and 2 beaten eggs, together.

I honestly don’t know how to do this. Everything’s too wet and slippery to ‘beat’ together. I ended up with this:

LRG_DSC01800

At which point I gave up and gradually added the dry ingredients into the wet, beating fast to try to prevent curdling.

LRG_DSC01801

If you look closely, you can see this still curdled a bit. But usually this will right itself in the oven anyway, so I just carried on.

I spooned the batter into the cups. The recipe stated to fill each cup 2/3 full. I clearly ignored this and just put a load in each one…

LRG_DSC01802

This then went into the oven for 15 minutes, until a toothpick came out clean when inserted into the middle of the muffins.

LRG_DSC01804

I left these to cool a little for a few minutes, before popping them out of the tray (I love these silicone trays!) and left them to cool entirely.

LRG_DSC01811

LRG_DSC01807

Once cooled it was time to try them!

Because these were called ‘Pecan Pie’ muffins, I expected them to be a bit sweeter, which is the main reason I made them as mini muffins instead of standard size. But they were really very tasty despite this.

LRG_DSC01827

The cake was a little dense, but still light. The denseness probably due to the method of making the batter. The pecans offered a lovely crunch and additional sweetness to the muffin.

The verdict:

These were quick, easy and tasty! They might be a little better with some kind of maple glaze on top.

I give this recipe 6/10

Food Challenge Recipe 36: Baked Orange Cauliflower

When you read this I’ll be on holiday in Orlando, so I thought this week’s recipe should be reflective of this.

Here in good ole Blighty when we think of Chinese takeaway, we think Sweet & Sour Chicken. But in the US I’ve never seen Sweet & Sour Chicken. It seems their equivalent is Orange Chicken, which is so very similar but with a sweet citrusy edge.

Since we’re trying to eat a little less meat, at home, I saw this recipe and knew I wanted to try it out! This recipe serves two people and was super quick and easy to make.

I started off with a small cauliflower which I cut into bite sized florets.

LRG_DSC01751

I put the oven on to 180c (fan), and whisked two large eggs in a small bowl. Then I put 1/2 cup of panko breadcrumbs into a Ziplock bag. The recipe states to use up to 2 cups of breadcrumbs, but I found I only needed 1/2 a cup – I think my cauliflower was tiny!

I dipped each floret into the egg, gave it a shake and place it onto a plate for the excess to run off.

LRG_DSC01756

I then tossed each individual floret in the panko and placed onto a prepared baking sheet.

LRG_DSC01760

These were put to bake in the oven for 20 minutes.

For the sauce I put the following into a small saucepan:

  • 2 tbsp water
  • 1/4 cup + 2 tbsp orange juice
  • 1/4 cup granulated white sugar
  • 2.5 tbsp vinegar
  • 1/8 cup low-sodium soy sauce
  • 1 clove of minced garlic
  • 1/4 tsp minced ginger
  • 1/2 tsp Sriracha
  • 1.5 tsp ketchup

LRG_DSC01764

I brought this to the boil, stirring constantly.

LRG_DSC01765

In a separate bowl I mixed 1 tbsp of water with 2 tsp of cornflower and then added this to the pan.

LRG_DSC01766

This was stirred up until the sauce thickened.

At this point the cauliflower was ready!

LRG_DSC01770

And the sauce was drizzled over top.

LRG_DSC01773

I served this with steamed basmati and green beans.

LRG_DSC01772

The cauliflower was cooked through, but still had a little bite to it. The breadcrumbs added some lovely texture. The sauce was delicious. I could taste each of the ingredients, and though it was very sweet, it was really close to the flavour of orange chicken I’ve tasted when I’ve been in America. There was a little heat from the Sriracha, which help cut through the sweetness.

LRG_DSC01771

The verdict: I really enjoyed eating this. I actually wished I had more when I’d finished! I’ll definitely be making this again, as it was so delicious and so simple to make!

I give this recipe 10/10!


In The Land of The Free

Well, it might not feel so free at the moment, but you get the picture….

In a couple of days I fly back to Orlando for a 2 week holiday (whoo!)

IMG_2586

We’re going to spend it soaking up the Florida sun and exploring some places we’ve never been, visiting places we know we love, and eating all the food.

IMG_2543

As a result there may be less posts during this time, and they’re most likely to be the recipe posts for my food challenge which I have written ahead and scheduled.

IMG_2587

So expect more posts about what I’ve been up to, on my return. In the meantime, make sure you’re following me on instagram, because that’s where I’ll be posting photos and stories during my trip.

And if you find me there because you read my blog here, please drop me a comment and let me know where you came to me from!


Food Challenge Recipe 35: Chocolate Peanut Butter Rice Krispie Treats

For a good while the recipes I’ve been making have been savoury meals, and Gary really wanted something a little bit naughty and sweet. He chose these peanut butter rice crispy squares, which looked quite simple, and can also be made vegan depending on what type of chocolate you put on the top. I’m not a fan of peanut butter, so I knew these wouldn’t be my ideal snack, but marriage is all about compromise 😀

LRG_DSC01728

There are only 4 ingredients in this, and you might find you already have these in the cupboard, so who knows, you could be eating some of these this evening!

LRG_DSC01730

You start off by measuring the rice crispies in a bowl – you need 105g.

Then line a square baking tin (or rectangle since that’s all I had) with parchment paper.

Add some golden syrup (80ml) and peanut butter (83g) to a saucepan and heat them together, stirring all the time until it just starts to bubble a little.

LRG_DSC01729

Once it’s melted together, it’ll be smooth.

LRG_DSC01734

I then poured this over the rice crispies and mixed it up until each of the crispies have been coated.

LRG_DSC01736

This was then pressed into the tray and the tray popped into the fridge to set.

When this had set, I melted 300g of chocolate in the microwave. I heated it in 30 seconds increments, stirring in the middle, until it was all melted.

I then poured the lot over the top of the crispies, smoothed it out, and then returned it to the fridge to set.

LRG_DSC01737

Once this was set it was time to remove it from the tin, which was really easy by simply pulling the baking paper up and out. And then I sliced the lot into 20 squares.

LRG_DSC01739

LRG_DSC01741

The squares were light and chewy, and a little crumbly (mainly because I’d not pressed the crispies down enough!).

LRG_DSC01740

The verdict:

Personally these weren’t for me, but if you like peanut butter, I’m told these are delicious! They were so simple to make, I’m sure I’ll be making these again!

I give this recipe 9/10


Learning Modern Calligraphy the Easy Way

By now you’ll know I’ve been taking an online calligraphy course for Modern Calligraphy, since the start of the year. I still have a module of this left, but I wanted to talk about it again now, since the new semester is now open for registration. If you have always wanted to learn modern calligraphy but haven’t known how the best way to do it is, where to go or what to do, I’m here to tell you THIS is the best way.

I’ve been learning through from a course run by Becca aka The Happy Ever Crafter. She runs the course online, in which the first module (learning your calligraphy drills) is totally free. This means you can get to grips with the basics before committing to anything. It gives you the chance to see whether you have the patience, skill and most of all the TIME to learn over the year, without parting with any cash.

And then even when you do have to pay for the subsequent modules, they’re not very expensive at all. This year she even allowed people to buy the whole course in one bulk payment if they wanted to, or just pick and choose and buy them individually as we got to them. They were also available at 50% off for a short period as we got to each module.

IMG_3364

As it’s an online course, you need to print off your own workbooks. So from an expense perspective you’ll need to be able to do this. Or if you’re learning on iPad (which is also an option) your expense is purely the workbook itself. You then need to pick up paper, pens and tracing paper if you choose to use it. At the start of the course Becca tells you about different equipment you might want to use, what she uses, and where to buy the stuff. She also provides videos on each workbook to help you understand how best to use them.

Apart from the workbooks being amazing and easy to work through, she also offers communication through emails, and encourages you to take part in the community via a closed Facebook group and also setting up your own dedicated instagram account where you can interact with others taking the course via hashtags. (Mine is at https://www.instagram.com/lettersbygroggits/ I have to say, I was astounded at the level of community created via this course. You get so much encouragement and inspiration, not to mention confidence, by sharing your work and seeing the work of others.

By the end of the Drill section I was all in. My confidence had grown in leaps from week to week and I was ready to start writing letters. We were encouraged to write out what we thought the alphabet would look like, and then shown how to use the shapes we’d learned and practiced in the drills, to create the letters.

IMG_4853

This is my before and after sheet, showing the difference between where I started and where I ended with the lower case letters. Quite the difference!

From here we learned upper case, numbers and symbols, joining the letters to make words, bounce styling and we’re currently learning how to flourish the words.

IMG_5265

By setting periodic challenges we could put the letters together and see how far we’d come.

IMG_5274

Using set words, and being encouraged to write them in ways we wouldn’t have thought of before.

IMG_5765

Not only has this taught me that I CAN learn a new skill, I DO have the patience to slow down and concentrate on getting it right, and I have even a little amount of creativity in me, it’s also opened me up to a world of other creatives online and on instagram. The world of creative lettering.

IMG_5768

I’ve started to move onto iPad lettering too, but this might take a little practice. But I’m apparently okay at little drawings too, so I’m enjoying practicing and sharing those.

If you feel like this is something you’d like to see if you’re good at, I’d encourage you to head over to The Happy Ever Crafter’s sign-up page and give her Show Me Your Drills module a try. It’s free, so you can’t lose out, and I guarantee you’ll fall in love! The module starts on October 1st, so you’ll have until then to sign up.

IMG_5772