Food Challenge Recipe 36: Baked Orange Cauliflower

When you read this I’ll be on holiday in Orlando, so I thought this week’s recipe should be reflective of this.

Here in good ole Blighty when we think of Chinese takeaway, we think Sweet & Sour Chicken. But in the US I’ve never seen Sweet & Sour Chicken. It seems their equivalent is Orange Chicken, which is so very similar but with a sweet citrusy edge.

Since we’re trying to eat a little less meat, at home, I saw this recipe and knew I wanted to try it out! This recipe serves two people and was super quick and easy to make.

I started off with a small cauliflower which I cut into bite sized florets.

LRG_DSC01751

I put the oven on to 180c (fan), and whisked two large eggs in a small bowl. Then I put 1/2 cup of panko breadcrumbs into a Ziplock bag. The recipe states to use up to 2 cups of breadcrumbs, but I found I only needed 1/2 a cup – I think my cauliflower was tiny!

I dipped each floret into the egg, gave it a shake and place it onto a plate for the excess to run off.

LRG_DSC01756

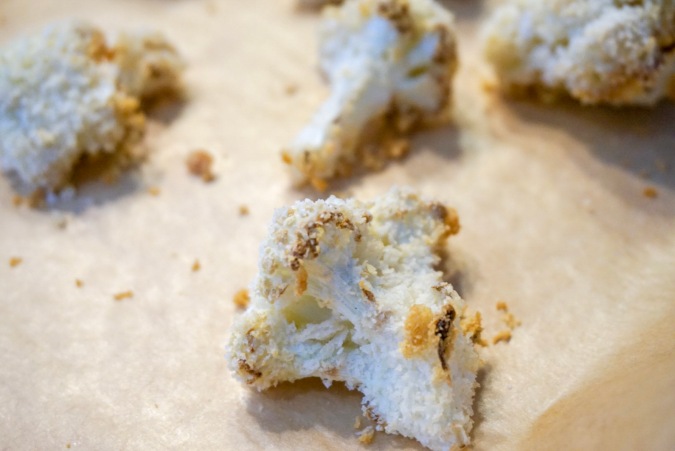
I then tossed each individual floret in the panko and placed onto a prepared baking sheet.

LRG_DSC01760

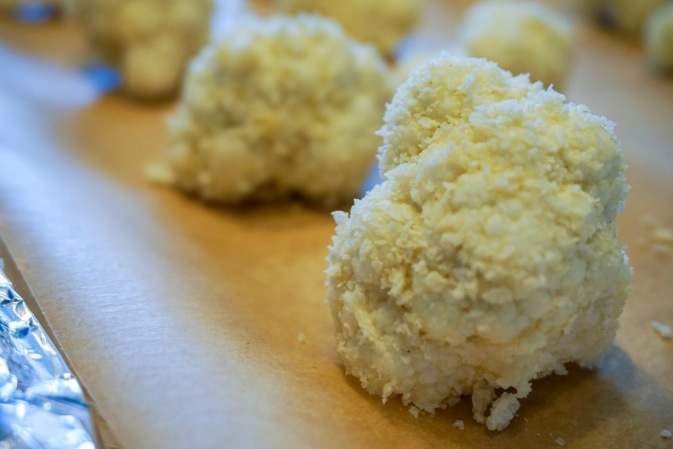
These were put to bake in the oven for 20 minutes.

For the sauce I put the following into a small saucepan:

  • 2 tbsp water
  • 1/4 cup + 2 tbsp orange juice
  • 1/4 cup granulated white sugar
  • 2.5 tbsp vinegar
  • 1/8 cup low-sodium soy sauce
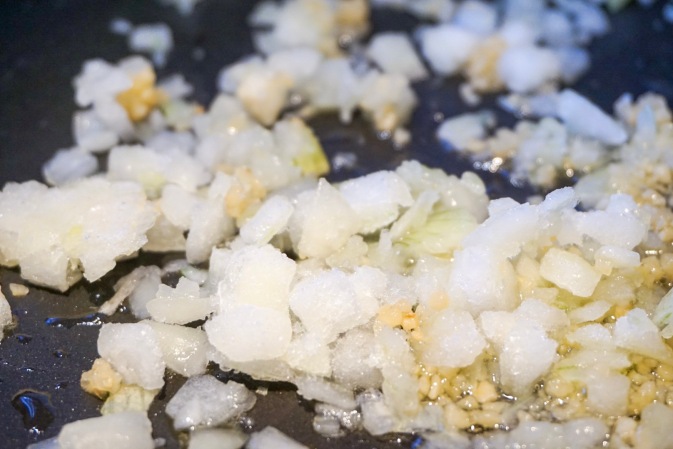
  • 1 clove of minced garlic
  • 1/4 tsp minced ginger
  • 1/2 tsp Sriracha
  • 1.5 tsp ketchup

LRG_DSC01764

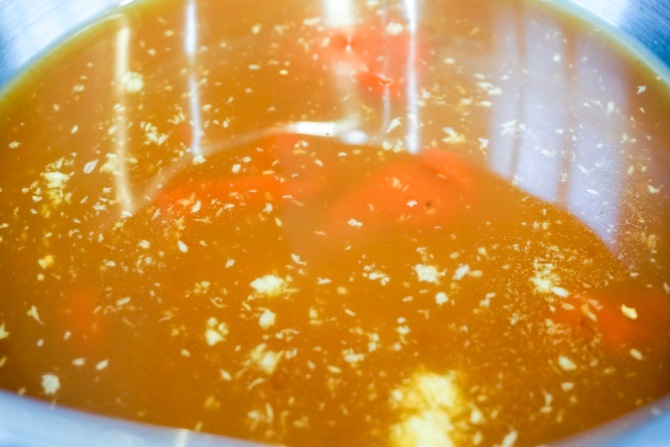
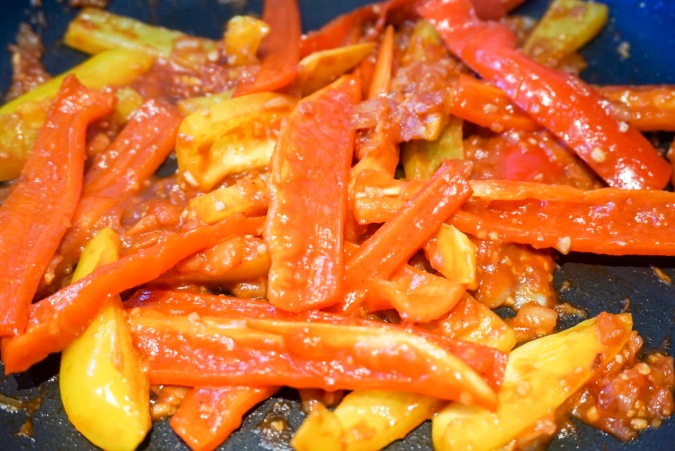
I brought this to the boil, stirring constantly.

LRG_DSC01765

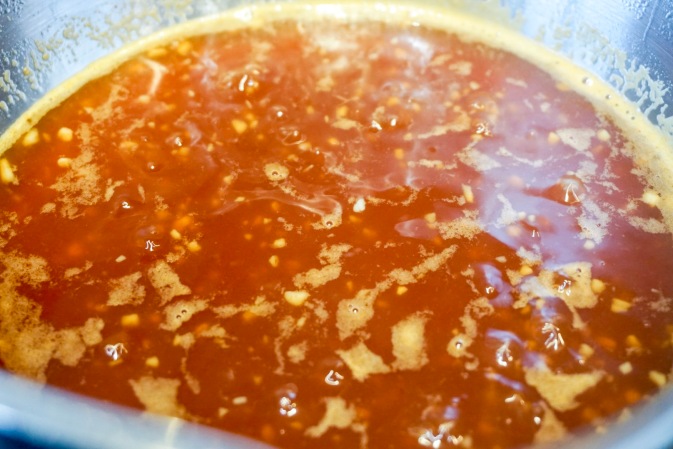
In a separate bowl I mixed 1 tbsp of water with 2 tsp of cornflower and then added this to the pan.

LRG_DSC01766

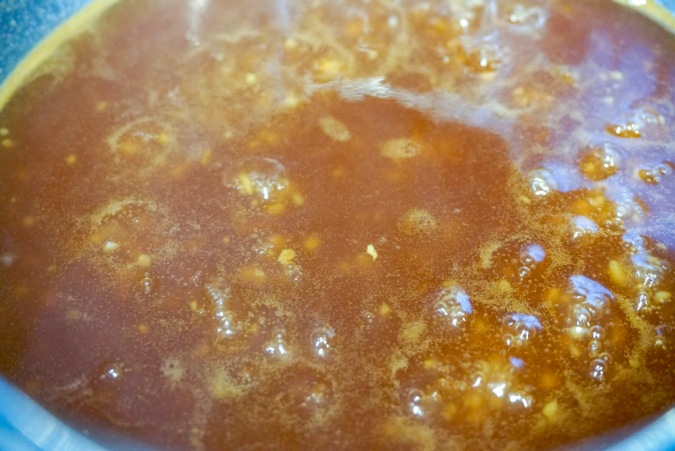
This was stirred up until the sauce thickened.

At this point the cauliflower was ready!

LRG_DSC01770

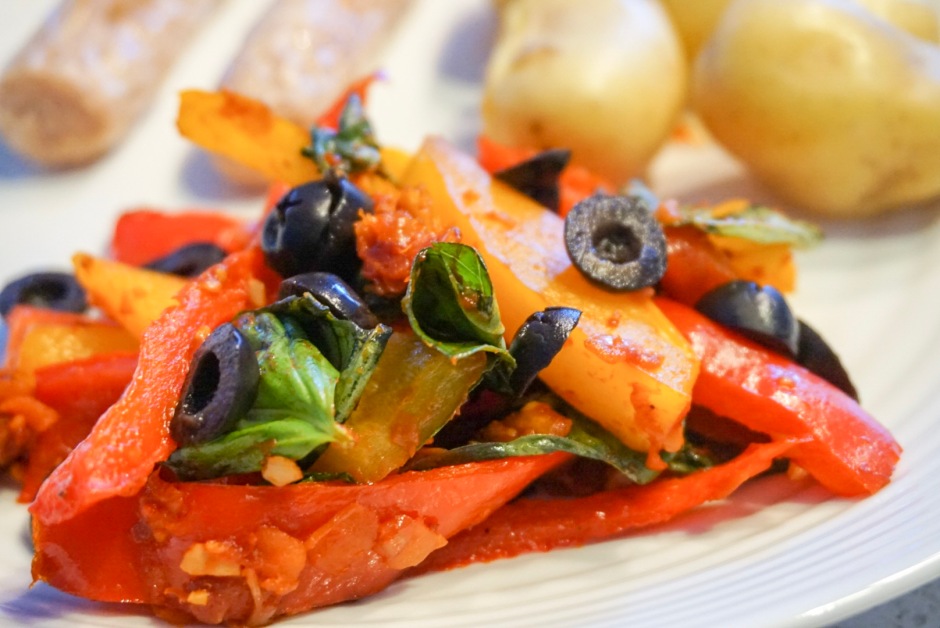
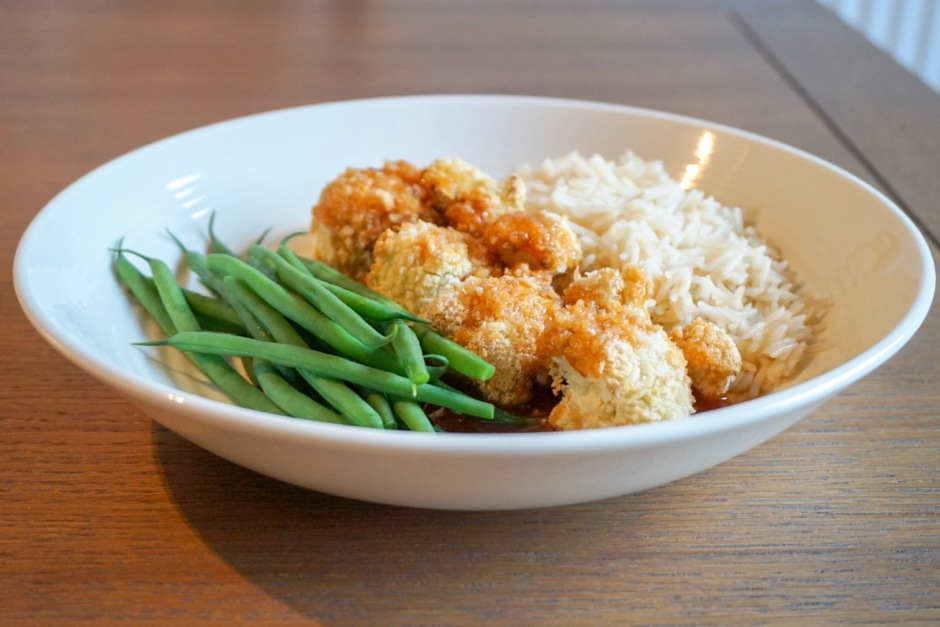
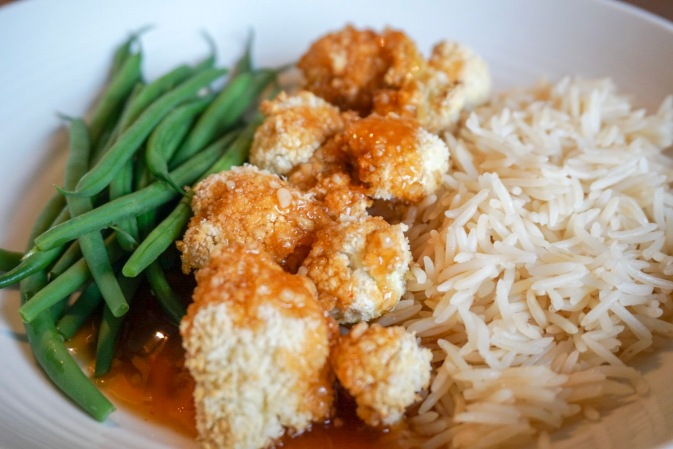
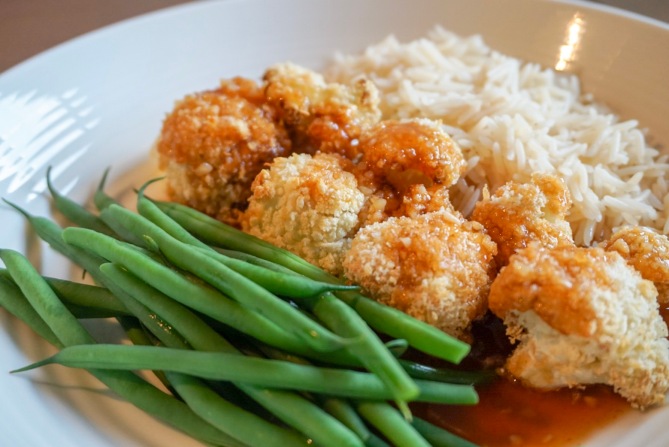
And the sauce was drizzled over top.

LRG_DSC01773

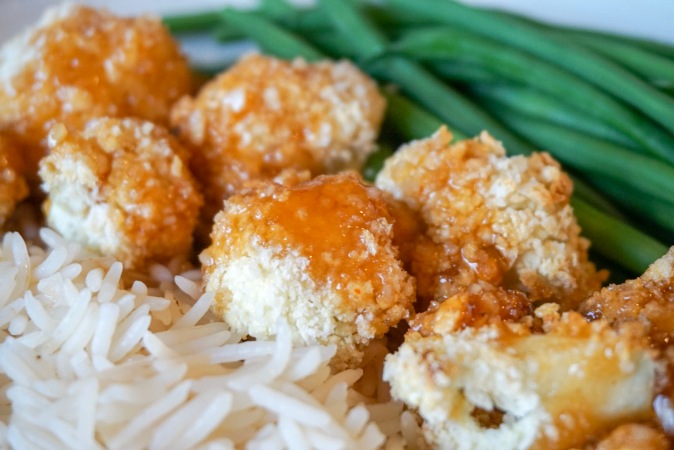
I served this with steamed basmati and green beans.

LRG_DSC01772

The cauliflower was cooked through, but still had a little bite to it. The breadcrumbs added some lovely texture. The sauce was delicious. I could taste each of the ingredients, and though it was very sweet, it was really close to the flavour of orange chicken I’ve tasted when I’ve been in America. There was a little heat from the Sriracha, which help cut through the sweetness.

LRG_DSC01771

The verdict: I really enjoyed eating this. I actually wished I had more when I’d finished! I’ll definitely be making this again, as it was so delicious and so simple to make!

I give this recipe 10/10!


Food Challenge Recipe 34: Peperonata

It hasn’t been lost on me that my last few recipes have been tomato-heavy. Apparently that was what I was fancying for the last few weeks. It’s been hot and summery and tomatoes taste the best in hot weather.

But for this week’s recipe I tried out something I’d never had before, Peperonata, which is an Italian side dish. I decided to serve this with sausages and new potatoes.

For this recipe I halved a recipe I found which was intended for 4 people.

This recipe is so super easy:

You fry 1.5 cloves of garlic (which has been thinly sliced) and 1/2 an onion in oil for around 8 minutes until they’re golden. I have lazy garlic which is diced, so I just used that.

LRG_DSC01742

LRG_DSC01743

For this recipe I used one yellow bell pepper and one red sweet pointed pepper, both sliced into strips.

These were added to the pan and cooked for 5 minutes.

LRG_DSC01744

Then you add vinegar (0.5 tbsp), passata (63ml) and season it. The recipe then states you need to simmer the whole lot for 25 minutes.

LRG_DSC01745

I personally feel that what was in the pan was too dry to simmer, and 25 minutes was a little too long. But I persevered!

Once the whole lot had cooked down, I removed it from the heat and stirred in a handful of fresh basil and some sliced black olives.

LRG_DSC01746

And this is the finished article! The flavours and textures were very good. I liked the basil and olives, as they added a nice texture and freshness.

LRG_DSC01747

As you can see, it’s a little dry-looking and thankfully the peppers added some moisture, however I feel like if I make this again I’ll make enough for 4 because I think by halving the amount it reduced the required amount of liquid to cook it all properly.

LRG_DSC01749

The verdict:

This tasted really good, but there wasn’t enough punch of flavour to make it ‘delicious’. I think I’d like to try making it one more time to see if I can get it right, and then decide if it’s something I’d like to have regularly.

I give this recipe 6/10

Food Challenge Recipe 33: Tomato, Veggie Sausage & Bean Stew

The weather had turned slightly autumnal when I picked out this recipe, and though it’s a stew, it was pleasantly light and not at all stodgy, which is what I’d hoped. It’s not quite autumn yet!

What I liked about this recipe was that it used veggie sausages, a I used the Cauldron Lincolnshire ones, as recommended by the recipe.

LRG_DSC01715

This was a very fast and very filling dish. I made enough for 2 people.

You start off by frying 3 of the sausages (halved) and 1/2 a diced white onion in a little oil, for about 8 minutes.

LRG_DSC01716

Then you add 1/2 clove of garlic (diced), 1/2 tsp of smoked paprika and some chilli flakes and cook for one minute.

LRG_DSC01718

While these were cooking, I wedged 300g of salad tomatoes.

LRG_DSC01714

Once the spices are cooked out a little, you add a pinch of sugar and all the tomatoes to the pan.

LRG_DSC01719

These cook for 5 minutes, and you can see the tomatoes start to soften and break down slightly.

Add in 100ml of vegetable stock and a 400g can of cannellini beans that have been drained and rinsed.

LRG_DSC01720

Season and stir, then simmer for 5 minutes.

LRG_DSC01723

At this stage you’re meant to add in some freshly chopped parsley, but I hate the stuff, so a little ground pepper will do for me!

LRG_DSC01724

I served this into bowls, and we ate it with a spoon and fork.

LRG_DSC01726

Though the sausages still looked a little pale, they were cooked through and tasty.

The beans were soft and the broth was well-seasoned, warm with chilli spice and very delicious.

LRG_DSC01725

It did feel like there was a LOT of tomato in there, so you’ve really got to like tomatoes to eat this!

The verdict:

I did enjoy this. The flavour of the broth was lovely, though I wasn’t overly keen on the sausages as they had a meaty texture which I was put off a little by. The seasoning was great, and the beans were lovely, though, as I’ve said in previous recipes, I’m not the hugest tomato fan so maybe less tomatoes would have been better for me.

LRG_DSC01727

Still, it was a tasty enough recipe, that I might consider making it again, but I might try a different type of veggie sausage. These sausages contained a little milk protein in them too, so weren’t dairy-free which surprised me. But that’s a different issue!

I give this recipe 6/10

Food Challenge Recipe 32: Rice-Stuffed Tomatoes

I’ve made a few recipes from Smitten Kitchen during this challenge, and the last one I made Baked Tomato Sauce for Pasta was SO GOOD I knew I wanted to try another of her recipes soon.

I saw this recipe online, and actually made it on the same night as another of my favourite bloggers made her version of the same recipe – great minds and all that.

I like tomatoes, but not as much as my husband. Unfortunately, I was spoiled by an over-use of acidic tinned tomatoes in the 90s, and that somewhere ruined my like for the fruit. And I’ll also point out that the tomatoes we can get where I live tend to be watery and tasteless for most of the year. If I can find a recipe that brings out the natural sweetness of them, without having to add too much sugar, then I’m all in.

I will now add a disclaimer, that though I used to ALWAYS read a recipe over before starting, on this occasion I did my becoming-more-usual thing of skim-reading and missing the important parts…. nice work, Erin. So there were a couple of mistakes, but I think I managed to improvise adequately!

So, first off, I took 4 large vine tomatoes, and cut the tops off. I then scooped out the flesh, making sure not to pierce the bottoms or break the sides.

LRG_DSC01692

LRG_DSC01693

I salted the cavities, and turned them upside down on a plate to drain.

My first mistake was to throw out the tomato tops, because I was meant to keep them to pop onto the tomatoes later. But I didn’t – doh!

The flesh went into my blend-active bottle, to be lightly blitzed into a pulpy liquid.

My second mistake was to miss the part of the recipe where I needed a frying pan with a lid. I don’t own one of these, but I could have used a saucepan, and I didn’t. So, you’ll need a frying pan with a lid for the next part…..

I added some olive oil to the pan, and once heated added 1 tbsp of chopped onion, 1/2 crushed garlic clove and some chilli flakes and cooked them for a couple of minutes.

LRG_DSC01696

Then I added 6 tbsp of arborio rice and cooked it together for about 3 minutes until the rice had started to toast.

LRG_DSC01698

Then I added the blitzed tomato pulp, brought it to a simmer and reduced the heat to medium-low. I seasoned this with a little salt and a tsp of dried Italian seasoning.

LRG_DSC01701

I mixed this together, and then covered with an improvised lid – some kitchen roll. This wasn’t greatly effective and it absorbed come of the steam, so later on in the cooking process I needed to add a little boiled water, to help the rice along. This simmered for 10-15 minutes (until the rice was par cooked). I tasted this towards the end, and added some sugar, pepper and salt, to taste.

LRG_DSC01702

During this cooking time, I prepared some red potatoes by chopping them into cubes and coating with seasoning and a little oil.

LRG_DSC01703

The rice was ready, so I popped the mixture into the tomato shells, which were filled 7/8 of the way. At this stage you can either pop the tops back on, or some breadcrumbs. I had neither (doh!) so I just went with them the way they were.

They stood up in a prepared (oiled) baking dish, in amongst the potatoes which helped to keep the tomatoes upright.

LRG_DSC01705

These baked in the oven at 180C (fan) for 30 minutes. I jostled the potatoes about a little on a couple of occasions to stop them from sticking too much.

And once they were done, they looked like this:

LRG_DSC01708

The rice had started to brown and crisp up on top, and the tomatoes were soft and beginning to burst a little at the tops.

LRG_DSC01708

LRG_DSC01709

So, what was the verdict?

LRG_DSC01711

The rice was cooked just right, and the top part of the rice was slightly crunchy which I really enjoyed. The seasoning was spot on and the tomato shells were perfectly cooked.

LRG_DSC01712

The potatoes were a great accompaniment. I’m a ketchup fan, so a little ketchup to dip both elements into, brought the whole dish together.

This was a fairly simple and very tasty dish. I’d like to try this again, and perfect those two elements I messed up, so I can see what difference it makes.

I give this recipe 7.5/10


Food Challenge Recipe 29: Baked Tomato Sauce

This week’s recipe was adapted from one I saw from Smitten Kitchen, after seeing her post about it on instagram. I have one of her books, but this recipe wasn’t in there, so I got it off the website.

LRG_DSC01638

When I saw the ingredients and method, it looked so simple, but I was afraid that the mild watery cherry tomatoes available to me would affect the flavour of the finished sauce. Thankfully, this recipe, and the accompanying ingredients, worked together wonderfully to create a fantastically fresh and beautifully tomatoey sauce, in all the ways you’d want it to be tomatoey!

Here’s what I did for sauce enough for 2 people:

LRG_DSC01636

I took a small punnet of cherry tomatoes (about 250g) and sliced each one across its equator. Then I lay each one out, cut side up, in a baking dish, which had had 1 tbsp of olive oil coated over the bottom. You need to create a single layer of tomatoes.

Next I combined 1/6 cup of panko breadcrumbs, 1/8 cup of vegan parmesan, 1 tbsp of lacto-free mature cheddar cheese that had been grated and 1 crushed garlic clove. I mixed them with a fork to combine.

LRG_DSC01639

Then the whole lot was spread over top of the tomatoes.

LRG_DSC01640

You’ve got to make sure each tomato has a good amount of coating. Then I added a little salt and pepper, and drizzled with 1/2 tbsp of olive oil.

LRG_DSC01642

This was then popped into the oven at 180c (fan) for 20 minutes, until the crumbs are starting to brown and the cheese is all melted.

At this time I put some pasta on to cook, so that it was ready at the same time as the tomatoes.

At the end of their cooking time, I took the baked tomatoes out of the oven and added 1/8 cup fresh chopped basil and lightly mashed the tomatoes with a fork.

LRG_DSC01643

This created the sauce! The recipe then asked for another tbsp of oil to be added, but I didn’t want to add any more oil for dietary reasons. I don’t feel like it needed it.

I then mixed in the pasta, and Bob’s your uncle!

LRG_DSC01646

The finished sauce was fresh, tasty and well seasoned. The tomato flavour wasn’t lost. The breadcrumbs had mushed up, so weren’t crunchy at all, however they had mixed with the cheese to create a savoury, thick, seasoning. The basil was a fantastic addition. It added a fragrant green freshness.

LRG_DSC01647

We chose this pasta shape because I know it holds onto sauce very well. If you make this, I’d recommend that you use a small pasta shape that will hold onto the sauce, too.

I can see me making this pasta sauce regularly. It was simply, quick and so tasty!

I give this recipe 10/10


Food Challenge Recipe 25: Oven-Baked Quesadillas and BBQ Seasoned Rice

This week I really fancied something Mexican but didn’t know what. I actually gained some inspiration from a Gousto box recipe on their website. I didn’t feel the value in buying the box for the recipe, and I could pretty much work out what to do from their description so I went for it!

Because I basically made this whole thing up, I didn’t really measure anything. I’m awful for doing that, but a lot of it is adding ingredients to personal taste anyway, so you’ll see you can wing it too! This recipe was for 2 people, but can easily be sized up for more.

LRG_DSC01562

I started off by putting the oven to 180c (fan) and brushed a little olive oil over a baking sheet. I then took a 400g tin of kidney beans, drained and rinsed them and then mashed them in a bowl, with a potato masher. I mashed it so it was 75% mashed with a few chunkier bits.

I then added in about 1/2 cup of grated mature cheddar (adjust to taste) and some Wahaca Chipotle sauce. I mashed this all together too until I had a very rough paste. I then tasted, added a little more sauce and some salt, until I was happy with the flavour.

I placed a single soft tortilla on the baking sheet and then spread the paste over the top.

LRG_DSC01563

As you can see, I didn’t spread it to the edges. I then topped it with a second soft tortilla and drizzled a little olive oil on the top. I sprinkled with sea salt flakes and then popped it into the oven for 15 minutes.

LRG_DSC01564

At this point I began making the rice. I put some olive oil into my frying pan, heated it and added some chopped onion and peppers. I used the frozen ones I had in my freezer. I’d say it was about one pepper worth and half an onion I used, but you use however much you wish.

LRG_DSC01566

Once these were softened (and defrosted!), I added some sweetcorn, from a can. You can use fresh or frozen if you wish.

LRG_DSC01567

I tossed these about in the pan for a few minutes. Meanwhile I microwaved one pack of basmati rice. I can’t cook raw rice, it always burns, so I buy the microwave packets.

Once the rice was hot, I added it to the frying pan, and then I sprinkled about 2 tsp of BBQ seasoning. You can feel free to use fajita, cajun, peri peri or bbq seasoning. We used BBQ because it fit with the flavours we like. I added a little of the powder, stirred around, tasted and then added a little more until I was happy.

LRG_DSC01569

I like to spread the rice across the whole pan, and leave it, in the hope it’ll create a little additional texture in the rice.

I cooked this until the quesadilla was done.

LRG_DSC01570

When it came out of the oven it looked a little unappealing and dry. But I knew what was inside was yummy so it didn’t matter!

I cut this into 6 triangles and served out the rice.

LRG_DSC01572

I left a little space on the plate for condiments. You can have soured cream, garlic mayo, ketchup, salsa, quac – whatever you want! I had garlic mayo, but to be honest, despite it looking a little dry, it didn’t need sauces.

LRG_DSC01577

Inside, the quesadilla was seasoned well, tasty with the cheese and beans and a slight chipotle kick. The top was crunchy and salty and the bottom was warm and unctuous.

LRG_DSC01573

The rice was also delicious. The seasoning had added a lovely warm, sweetness to the rice and the vegetables were lovely and fresh. A perfect accompaniment!

LRG_DSC01575

All in all I think this recipe was a success all round. I’ll definitely be making this again, and probably very soon!

I give this recipe 10/10!

Food Challenge Recipe 15: Baked Cheesy Gnocchi

I’d planned to try my hand at making fresh gnocchi a few weeks back, but when I got around to it the recipe I’d picked was clearly wrong and all the others I’d seen took way too long to make for the dinner I had planned.

When I saw this week’s recipe I really wanted to give it a go, but didn’t have the time (or inclination) to make the gnocchi myself, so I just bought the packets from the fresh pasta section of the supermarket. Much easier!

This is another vegetarian recipe, and can be made lactose/dairy free dependent on the choice of cheese you make. The original recipe was meant to use mozzarella but I didn’t want any dairy in my dish, and I don’t like the texture of mozzarella anyhow.

I tweaked this recipe in some parts, but loved the fact that I was making tomato sauce from scratch because that’s something I’ve never done before. I’d like to do it again and tweak it some more, maybe add some different herbs in. This recipe makes enough for 4/5 so we had leftovers for another meal in the week.

Here goes!:

I started by finely chopping 1 red onion and roughly chopping 6 large ripe tomatoes.

IMG_4638

I sweated down the onion in 2 tbsp of garlic olive oil. I didn’t add the garlic cloves that the recipe asked for (4!) and used garlic infused oil instead, which I much preferred and had the desired effect.

IMG_4639

The I added the tomatoes and cooked them down until they started to break down.

IMG_4640

Once they’d started to break down, I added 1/2 cup of passata, 2 bay leaves, 1 tsp of sugar and salt and pepper to taste.

IMG_4641

I then let this simmer, covered, for 30 minutes.

When this was nearing the end of its time cooking, I put the fan oven on to 200c and cooked the gnocchi according to the packet.

IMG_4642

See the little blighters floating to the top!

Once everything was cooked, I tasted the sauce to check it was seasoned correctly, removed the bay leaves and stirred in a handful of torn basil leaves.

IMG_4643

And then I stirred in the cooked gnocchi.

Then I topped it with grated cheese and popped it into the oven.

IMG_4644

After 10 minutes the cheese was bubbling and melted!

I topped it with some more fresh basil and it was ready to serve.

IMG_4645

IMG_4646

Although not very photogenic, this meal was delicious! The gnocchi was soft and fluffy and the sauce was really deep with flavour. The cheese had managed to melt down into the gnocchi and added a little salt to the flavour too.

IMG_4647

I was really impressed with this dish and will definitely be making it again – and definitely be making the sauce again to try with other things!

I give this recipe 9.5/10